Knitting a snood by knitting needles - diagrams for beginners with a description and a detailed breakdown of the ideas
A snood is a great choice for beginners. Consider knitted scarves snoods with knitting patterns and descriptions.
Since I learned to knit, I have created many amazing knitted things like scarves, hats and sweaters with my own hands. I have taught other people how to knit properly, from my summer camp girlfriends to my classmates. I can say that I am very proud that I was able to teach even one stubborn donkey the art of knitting.
Once you master this art, you will quickly become addicted to it. Click... click... The sound of knitting will become a constant melody in your life. When you first decide to learn how to knit, the scarf is a great starter piece. It involves fairly easy practice, and after that, it leaves a beautiful handmade snood to add to your closet.
Choosing the materials to knit with
I could tell you exactly what needles and yarn to buy, but those materials won't be the best for you specifically. I choose my knitting needles and yarn based on how I personally feel. You should feel comfortable in your hands when knitting. Choose your materials carefully and make sure they deliver a pleasant feel.

Yarn
When you're just learning to knit, it's best to choose one solid color (later learn to use several colors of yarn as well as variegated yarns). Make sure you like the feel of the yarns you liked in the store before you buy. If you don't like the feel of the yarn, you won't want to knit with it and will quickly abandon the activity. The yarn should be a tactile pleasure.
Knitting needles
Knitting needles are made of different materials such as metal, plastic, bamboo, resin, and various types of wood. My preference is wood or bamboo, and they are great for beginners. Again, you choose what you are most comfortable with.

Crochet hook.
It is helpful to have a hook for taking off dropped stitches.
Scissors
You should keep a pair of sharp scissors on hand to cut your yarn. You should not tear your yarn, or use blunt scissors to sort of rub it. As this is to tangle or stretch the yarn.

Hand Cream
This may seem like a rather odd knitting material, but it's a must. Choose an absorbent cream so it doesn't get on your yarn. The yarns absorb the skin grease of your hands. That's why it's so important to find a way to keep your hands hydrated while keeping the material clean.
Knitting terminology, abbreviations and symbols
Before you learn how to knit, you need to know the terminology to follow the patterns. I won't cover all knitting terms, here are the most basic concepts.
- (L. s.): the front stitch is the basic one in knitting.
- Rear-knit (I. s.): the back stitches. It is often combined with knitting a front stitch in many patterns.
- Front side: this is the side of the garment that will be visible when worn.
- Rear side: this is the side of the garment that will be inside when worn.
- Right side: the side of the work closest to your right hand as you work on it.
- Left side: the side of the work closest to your left hand when you are working on it.
- *: An asterisk is used to indicate the beginning and end of a portion of an instruction that is performed more than once.
- (): The parentheses contain instructions to run the exact number of times indicated by the number in the parentheses.

Even the simplest loops can make a spectacular snood. Simple knitting a snood with easy patterns and beautiful patterns as a result.
Set of loops.
The set is one of the hardest parts of knitting to master. It's fairly easy to do once you've gotten the required number of starter loops onto your needles at least once. Since it is a little difficult to explain in words, it is recommended that you watch instructional videos on the beginning part of knitting.

How to knit
Knitting consists of two main stitches, a front stitch and a back stitch. By combining these two loops, endless different patterns and textures are created. Let's begin knitting double sided knitting patterns for a snood.
Let's begin knitting:
- Dial a number of loops on two needles that is a multiple of 9.
- Hold the knitting needle with the stitches in your left hand.
- Insert the point of the right needle into the first stitch from front to back under the left needle.
- Use your right index finger to guide the loose yarn under and over the right needle point.
- Now guide the yarn through the loop with the right needle.
- Remove the first loop from the left needle so that you now have a new stitch on the right needle.
That's the end of the first crochet stitch!
Repeat these four steps in each stitch left on the left needle. When all the stitches are on the right needle and there are none on the left needle, one row is complete.
Turn the right needle, hold it in your left hand and use the free needle in your right hand. Practice knitting 10 more rows of face loops.

How to knit a front stitch
- Insert your right needle into the first stitch on your left needle, front to back.
- Bring the loose yarn under and over the knitting needle.
- Pull the yarn through the loop with the right needle.
- Remove the first stitch from the left needle.
- The new stitch will now be on your right needle.
- Start the steps with the next stitch on the left needle.
- Insert the needle and yarn.
- Pull the yarn through the stitch.
- Remove the stitch from the left needle, leaving the new stitch on the right needle.

How to knit a back stitch
The back of a front stitch is called a back stitch. The difference between the front and back stitch is that with back stitching, you insert the right needle with the point from right to left in front of the left needle. You can cast on more stitches or continue with the 10 rows you knit from above.
Insert the right needle from left to right in the first stitch and in front of the left needle.Hold the yarn in front of the work (side facing you) and bring the yarn around the right needle counterclockwise.Using the right needle, pull the yarn through the stitch.Slide the stitch off the left needle, leaving the new stitch on the right needle.

There you have it, the first wrong side stitch! Repeat these four steps in each stitch through the row to complete one row of wrong-way loops. Now move the needle with the stitches from the right to the left hand. Knit each stitch in a row. At the end of the row, transfer the knitting needle to your left hand, then follow with the wrong stitches in the next row

Knit Knit.
- Insert the right needle into the first stitch on the left needle. The right needle will be in front of the left needle.
- Slip the yarn onto the right needle from right to left.
- Pass the loose yarn through the stitch, then drop the stitches from the left needle.
- The new stitch will be on the right needle.
- When you alternate the front and back rows, an overall pattern of loops is created, called knitting. Continue to practice knitting until you feel confident in doing the front and back loops.
The pattern is an elastic band.
These scarf patterns are quite simple and easy for beginners, but still very cute. You can make the product by alternating between the back loops and the front loops.
Ribbed snood
This is a fairly simple scarf that will allow you to practice the two loops you just learned.The elastic on this piece will make it look thinner than it does on the spokes.
Pattern:
- Row 1: Work a 2x2 rubber band along the row. Beginning with 2 Bp and ending with 2 Bp.
- Row 2: Continue the rubber band, starting with 2 I.p. and ending with 2 I.p.
Repeat the last two rows until the snood is the desired length.

When the scarf is longer, you can easily see the pattern. Any mistakes will be noticeable, so pay close attention to the work being done.
Simply Beautiful Snood.
This is a fairly simple scarf. You can make it thin or wide, depending on how you want your scarf to turn out.
Pattern:
- Dial in 21 loops.
- Row 1: Rear stitches.
- Row 2: * 1 E.p., 1 L.p., end 1 E.p.
- Repeat rows 1 and 2 until desired length.

How to finish the product
To finish the knitting, you need to close all the stitches on the spit.
- To do this, you take a needle with stitches in your left hand.
- You knit 2 stitches in the left hand.
- You get one left-handed stitch.
- You drop it on the right hand needle.
- Then repeat steps 1, 2 and 3.
At the end you will have one stitch left which should be tied tightly with yarn.
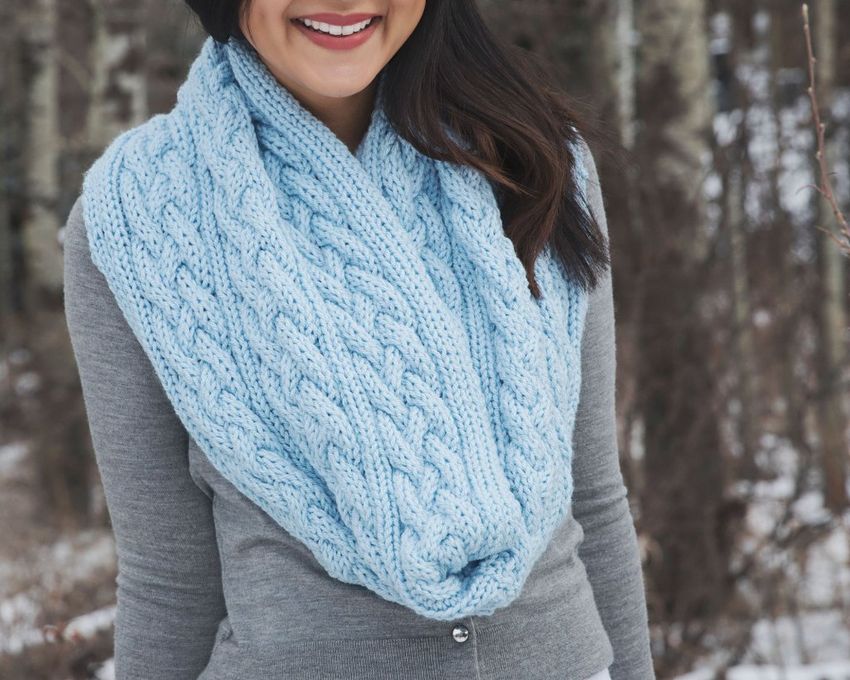
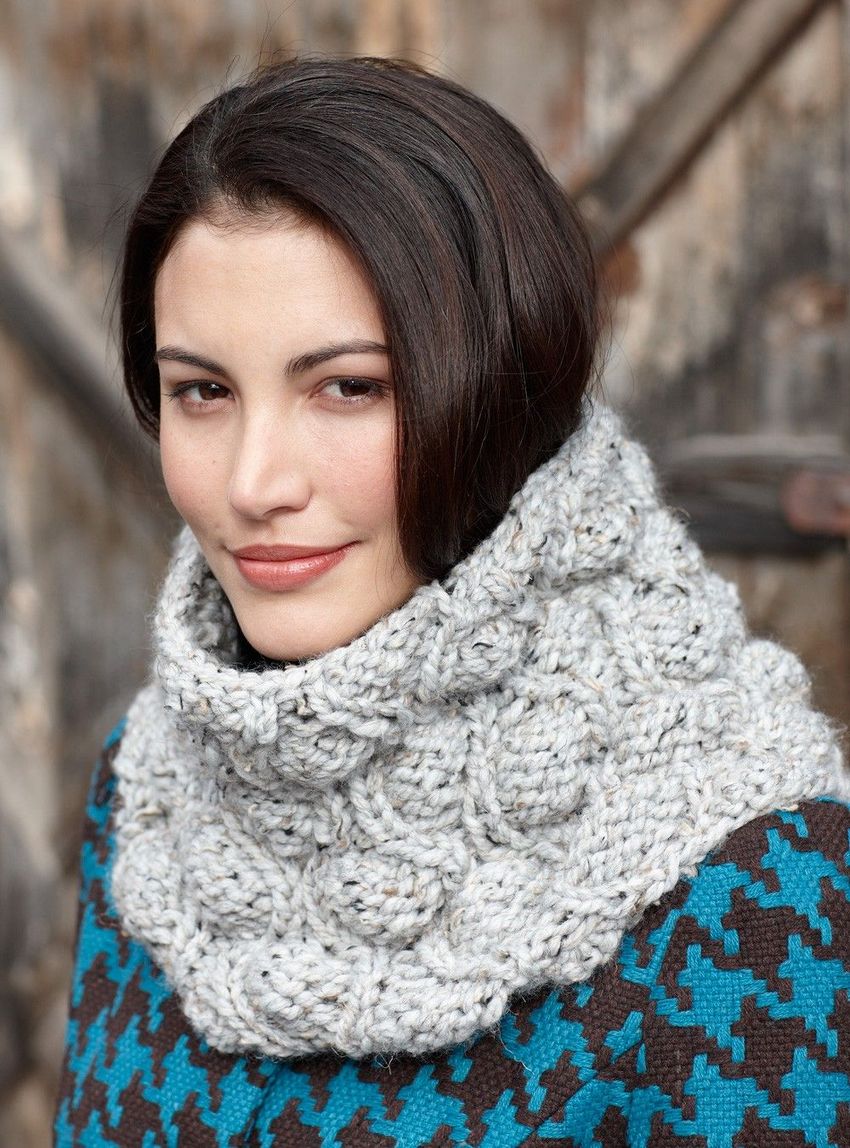
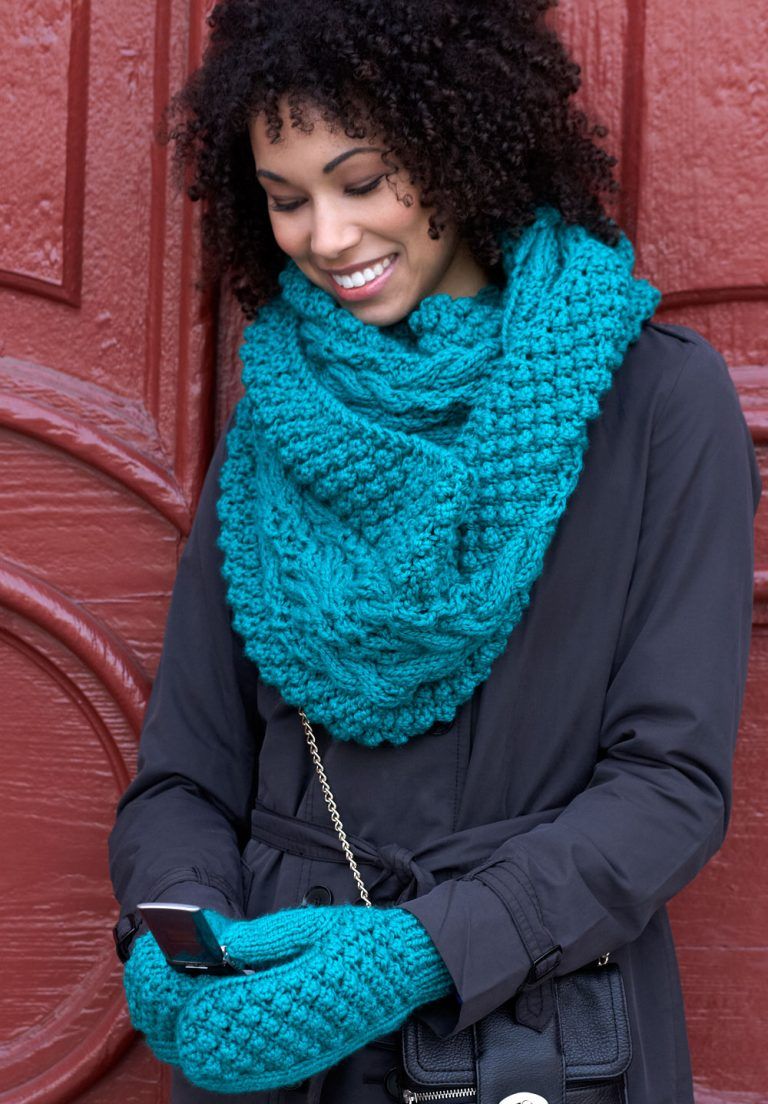
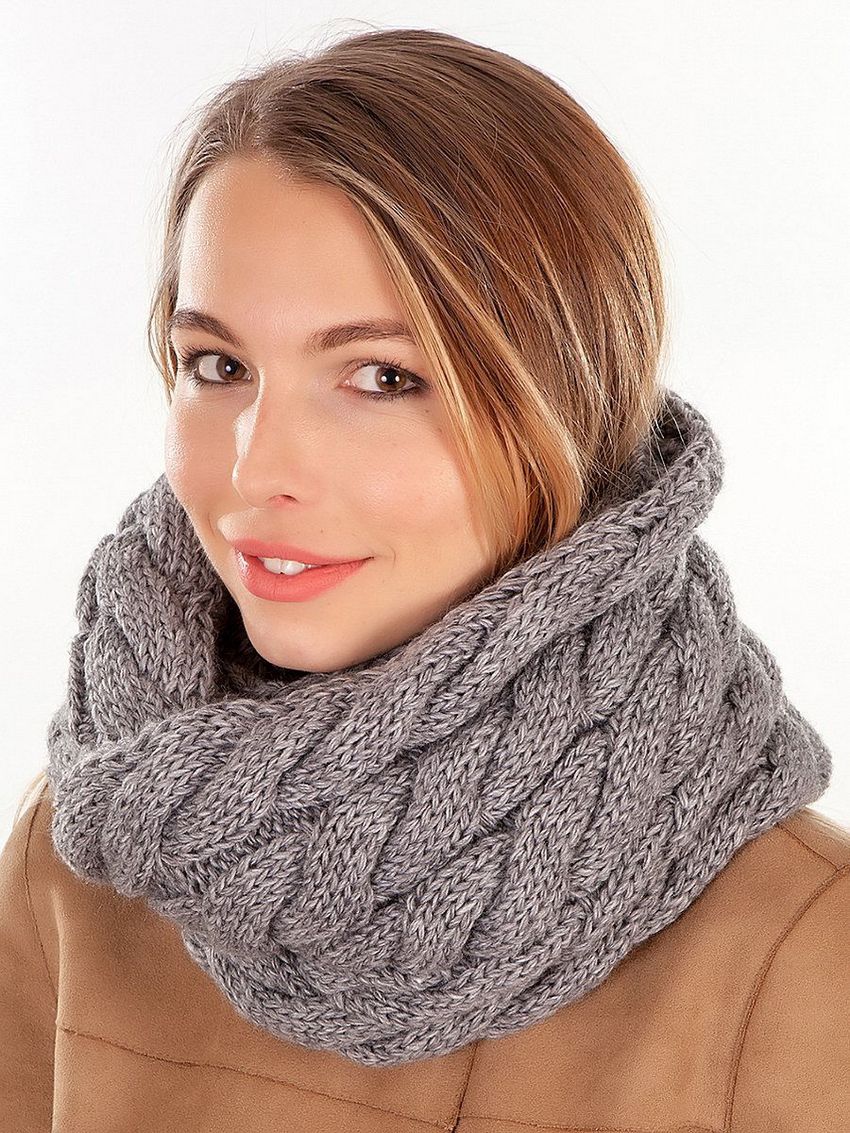
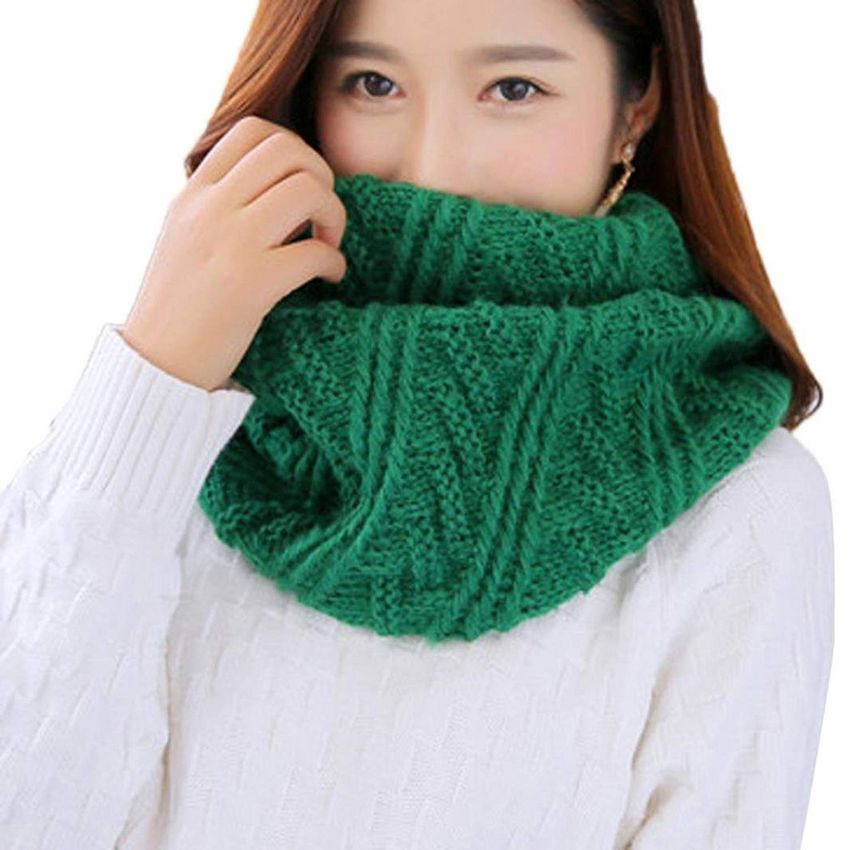
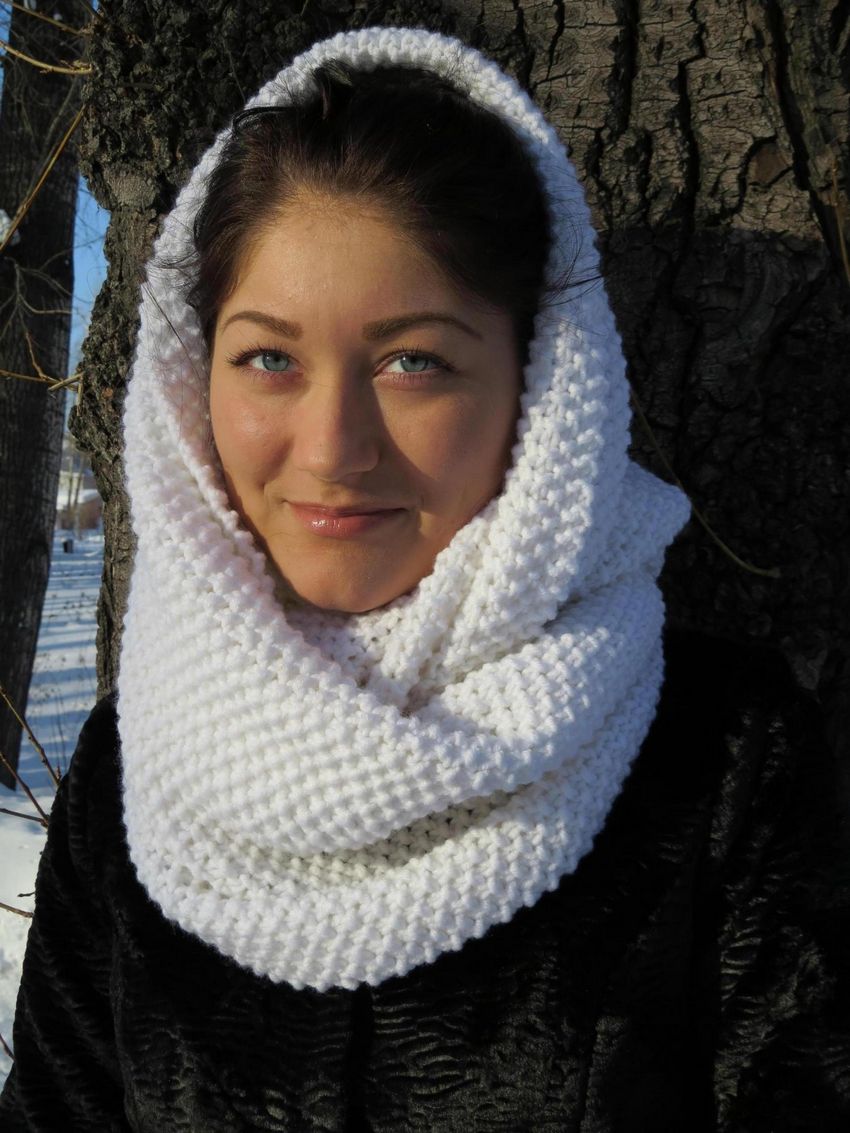
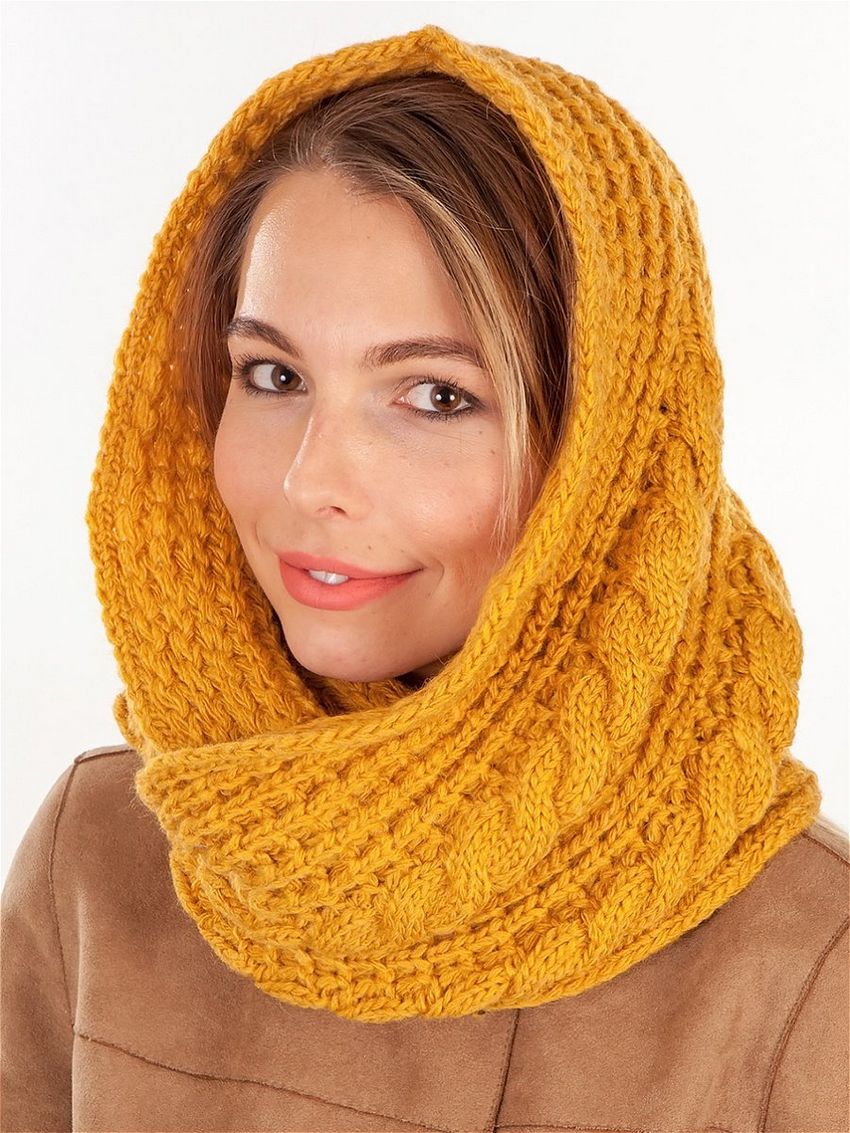
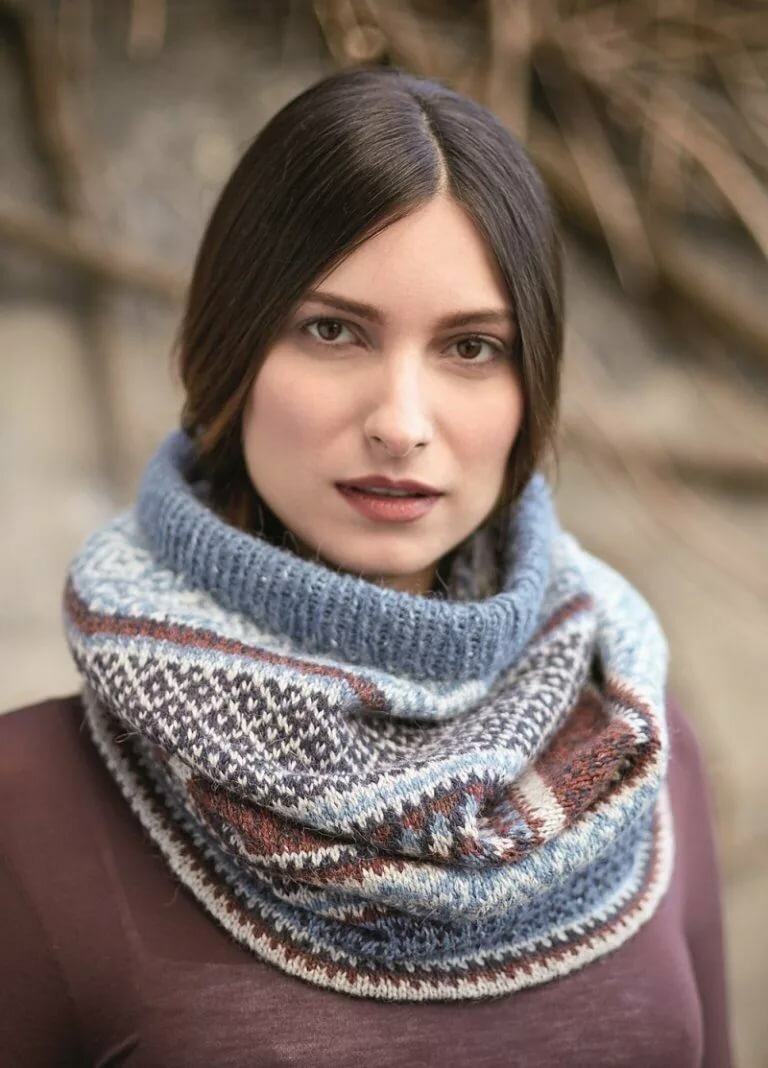
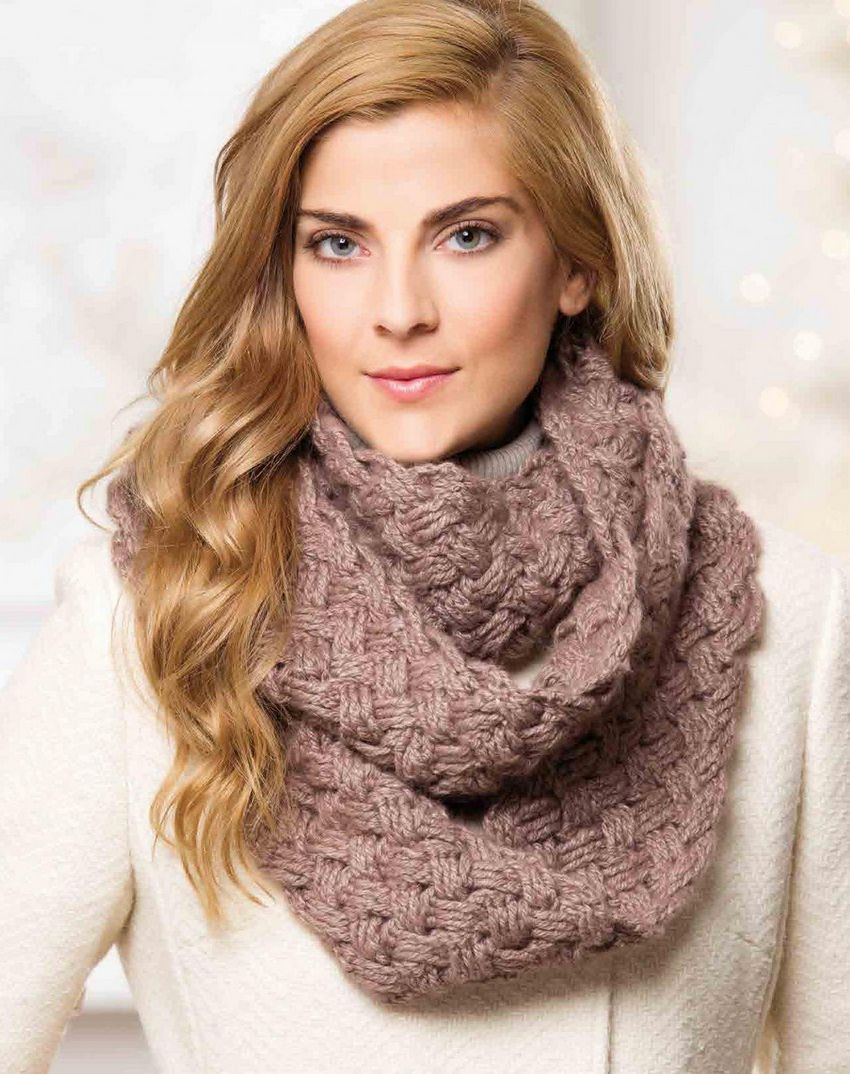
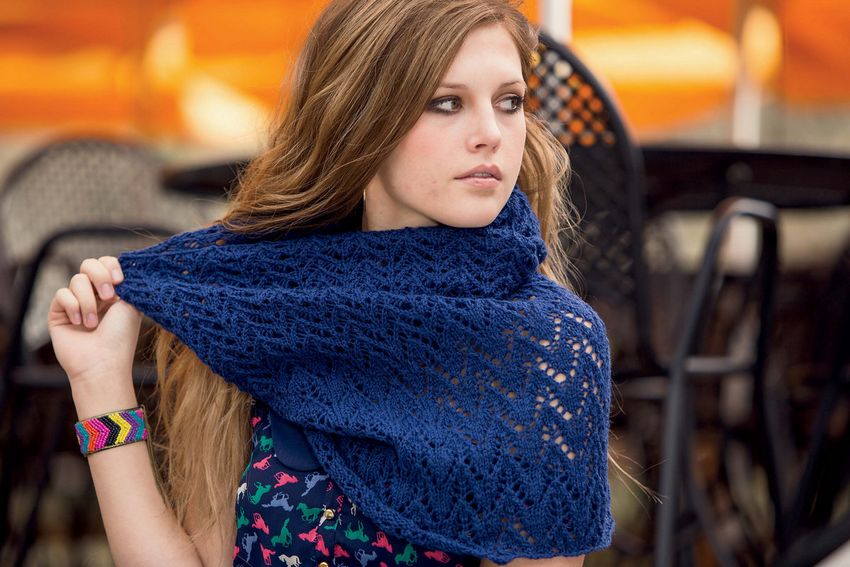
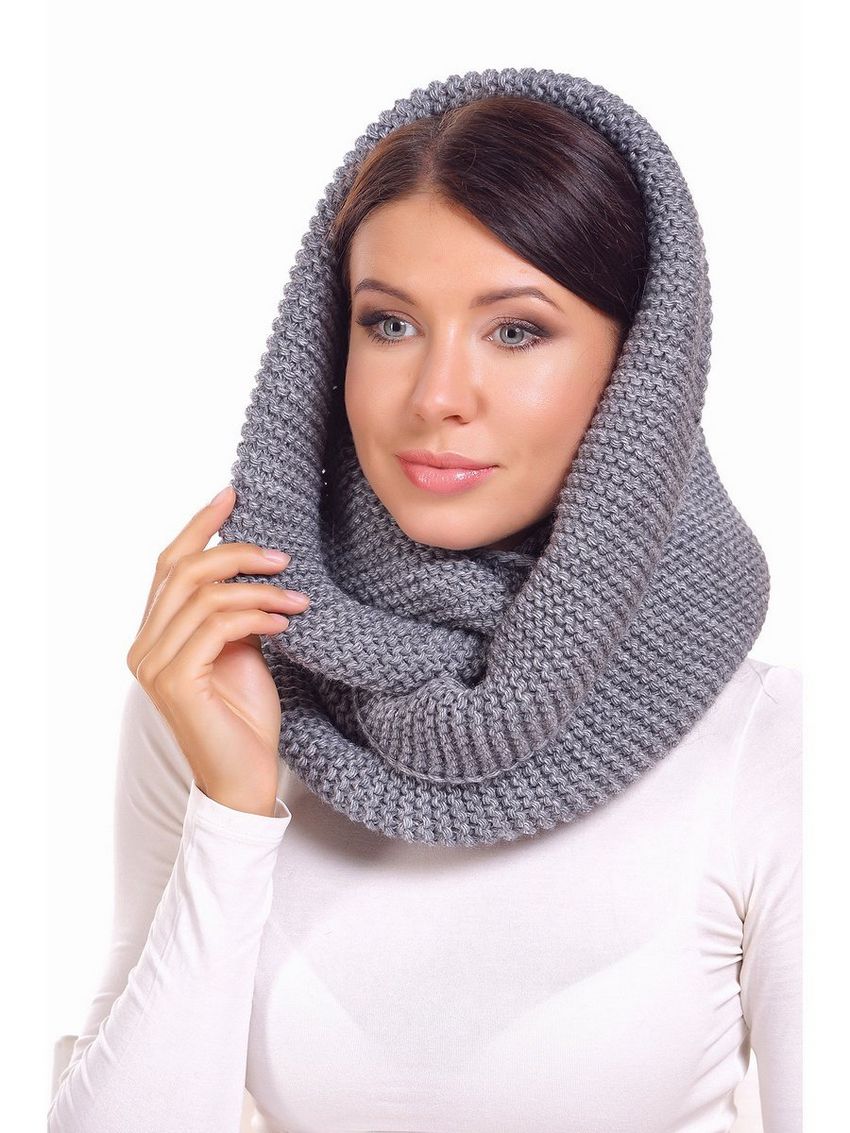
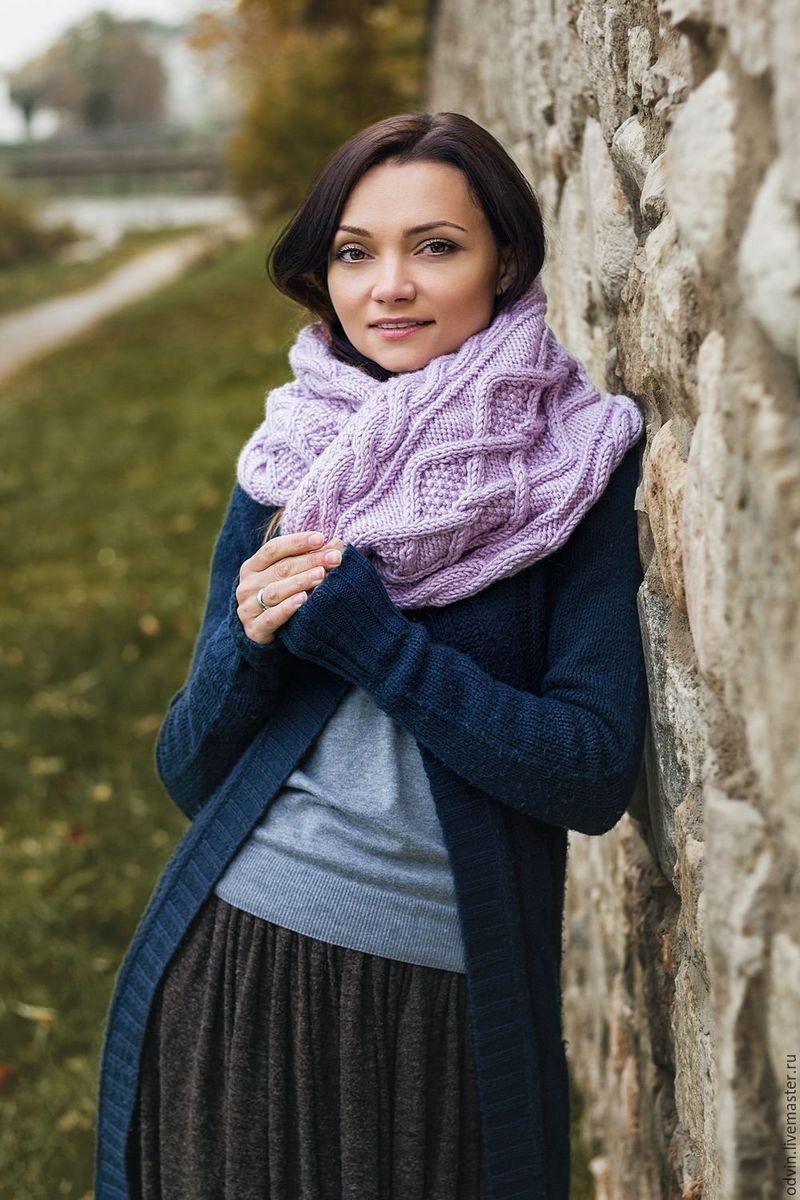
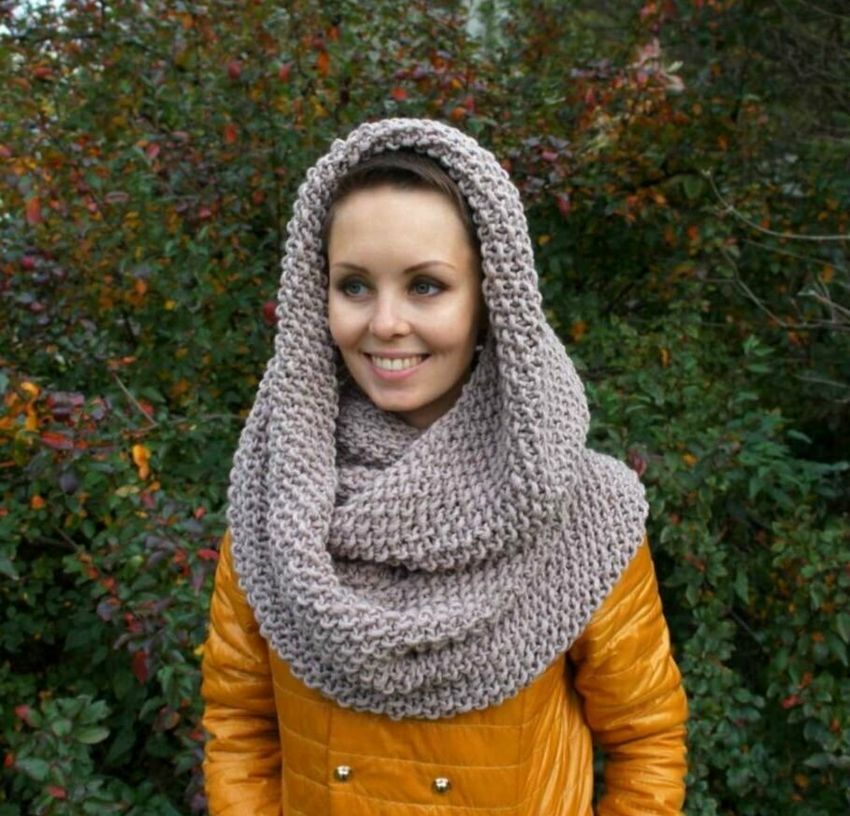
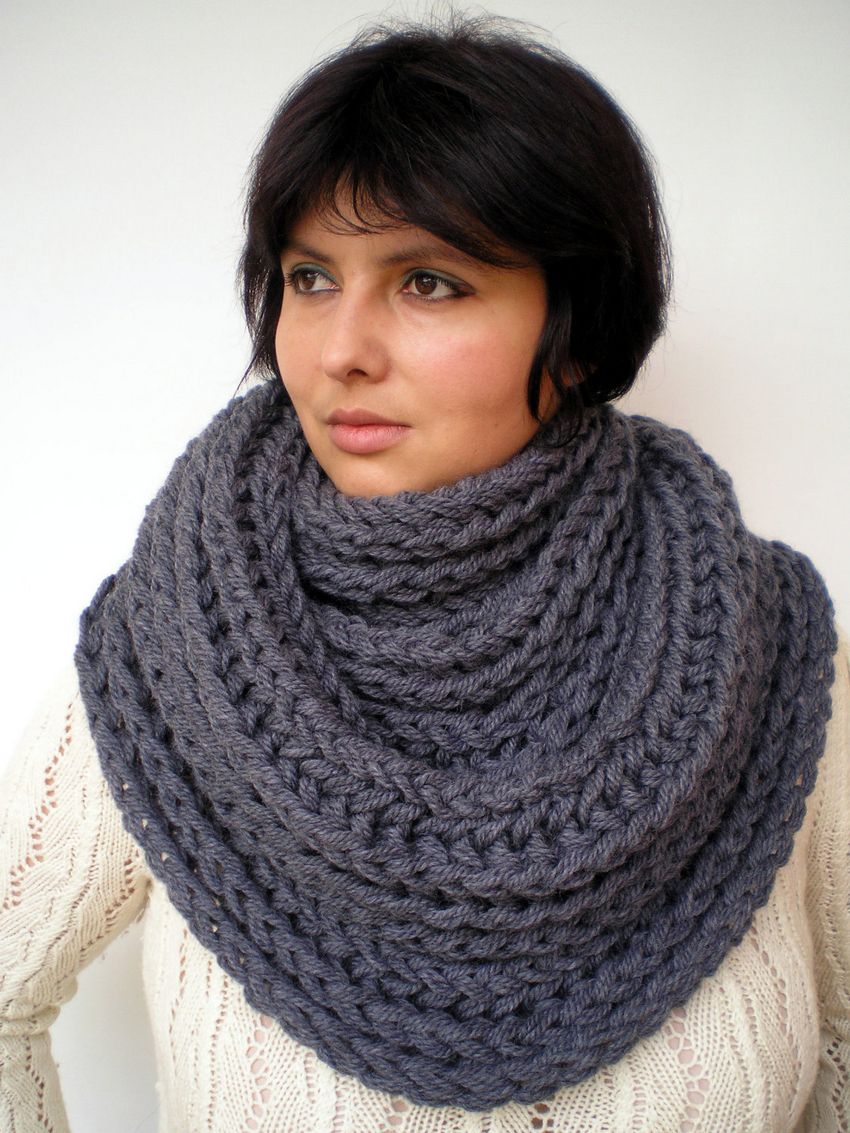
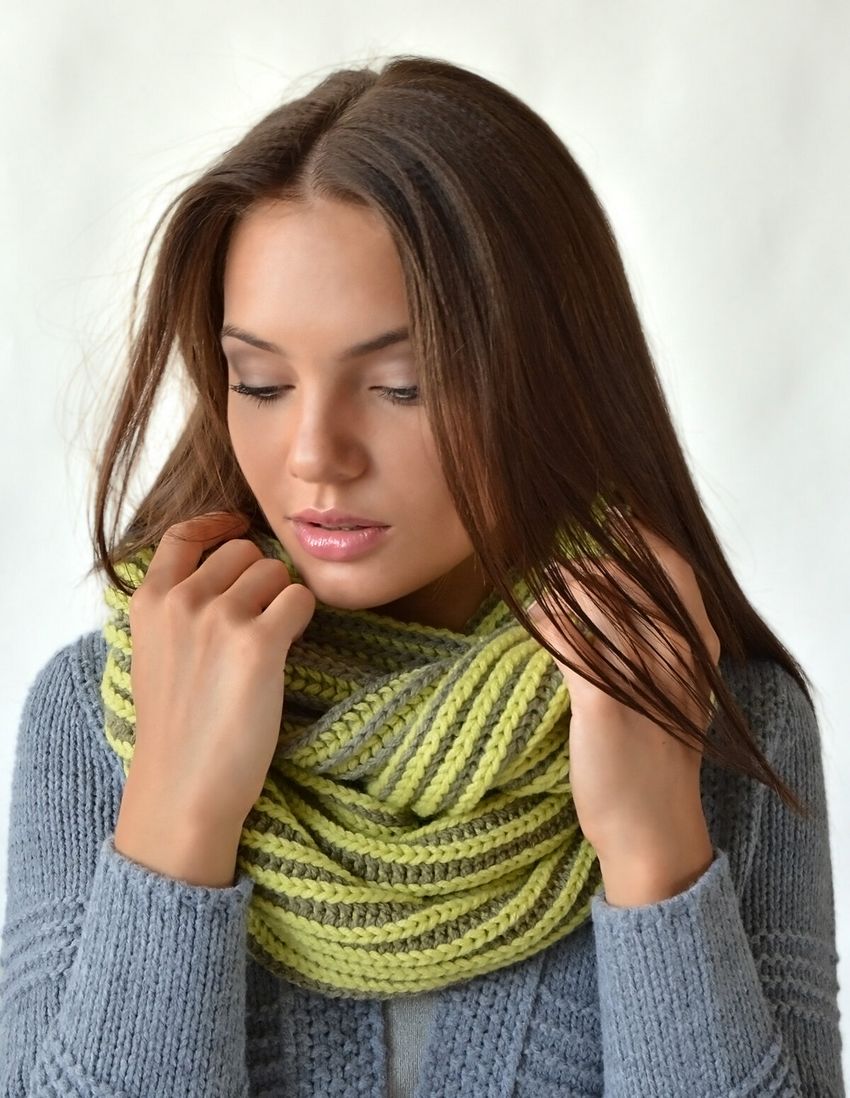
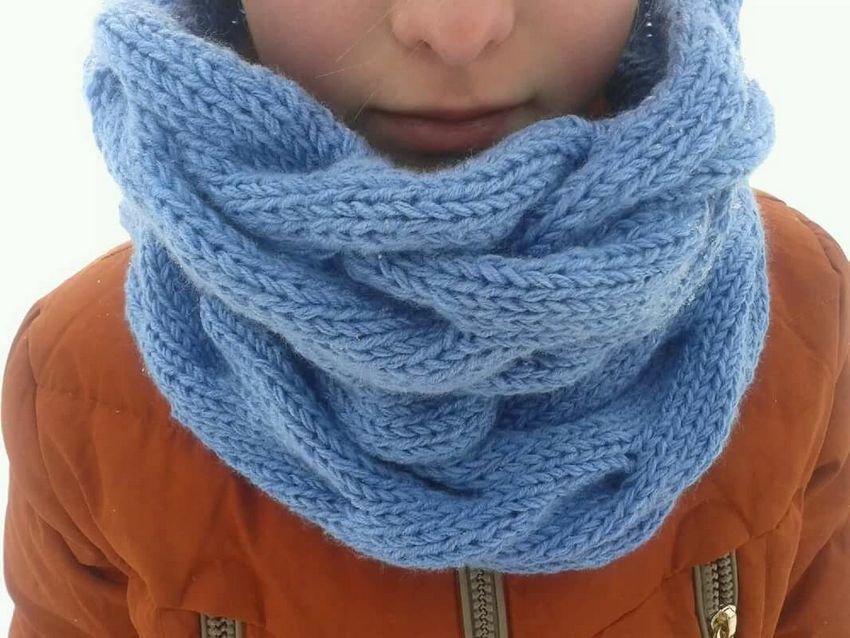
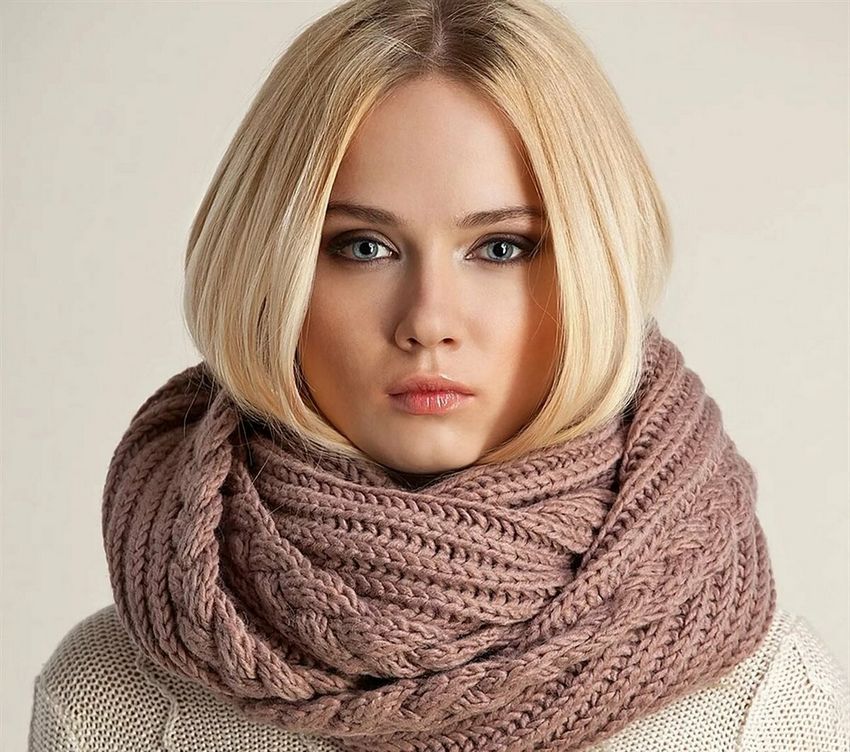
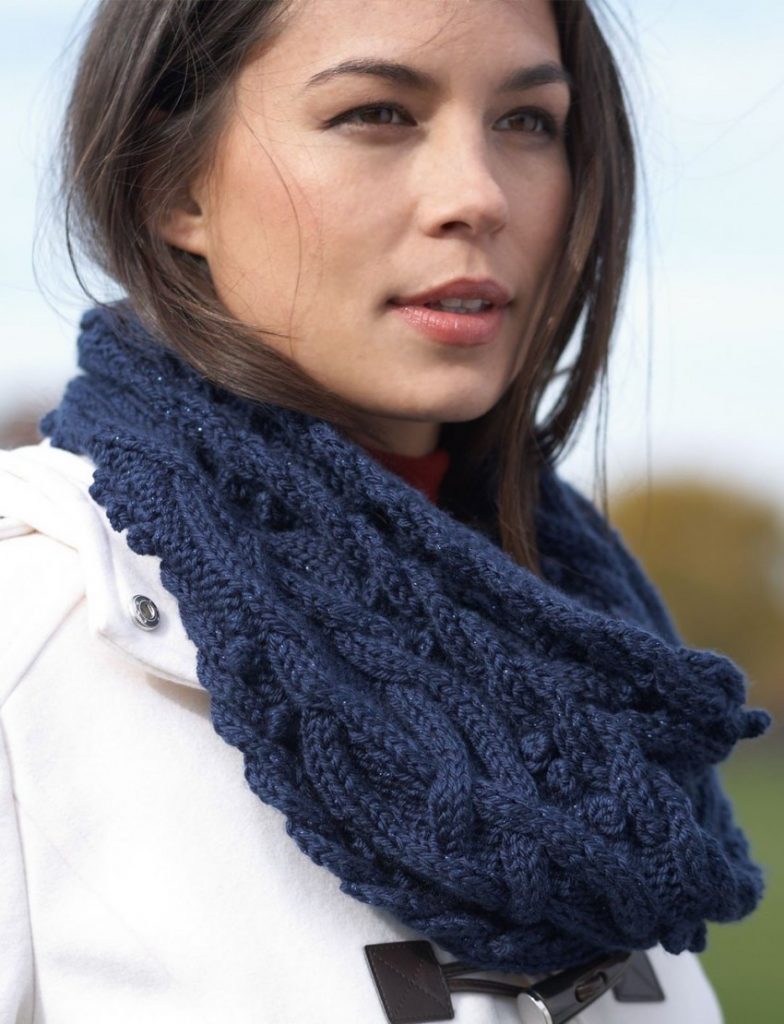
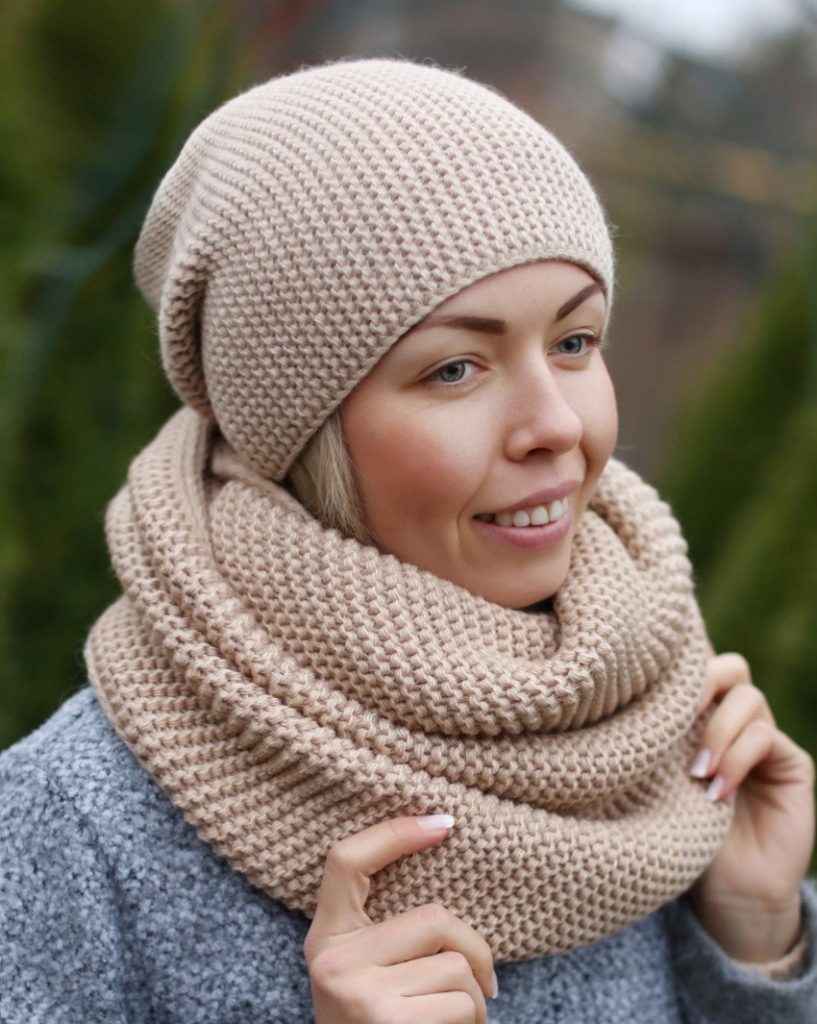
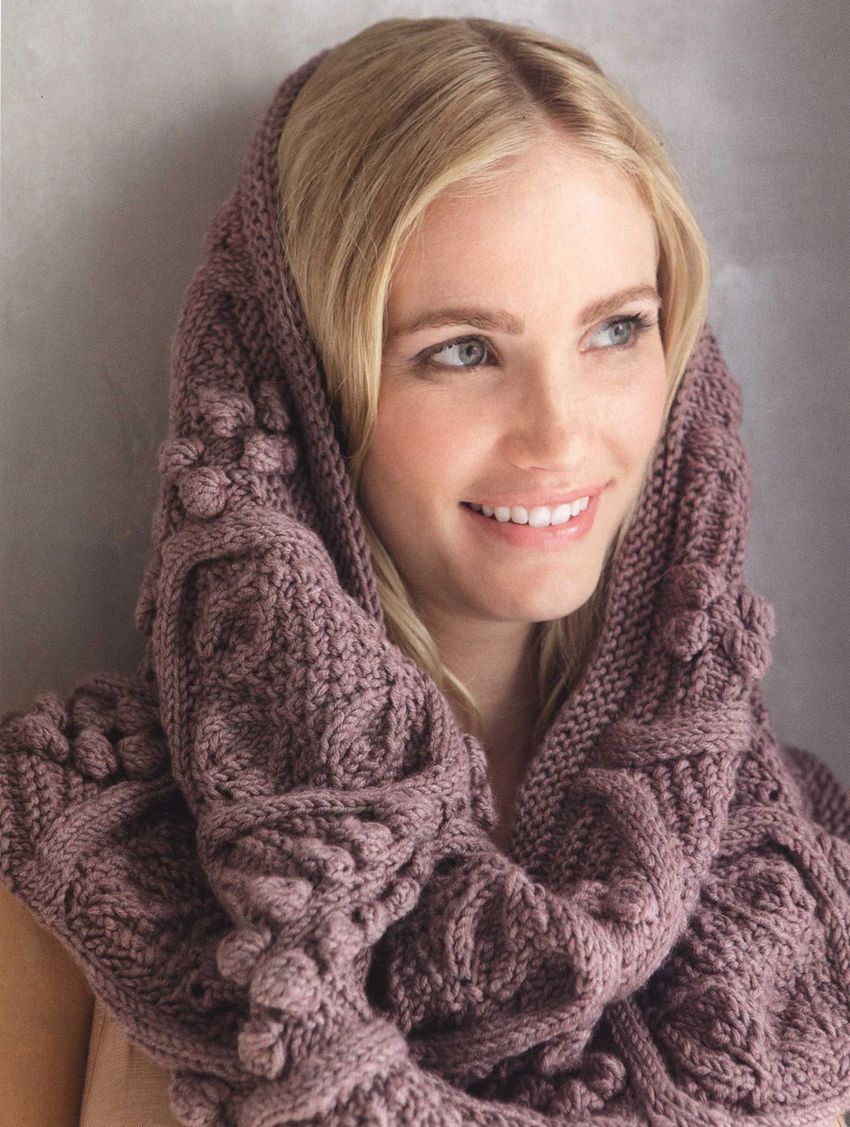
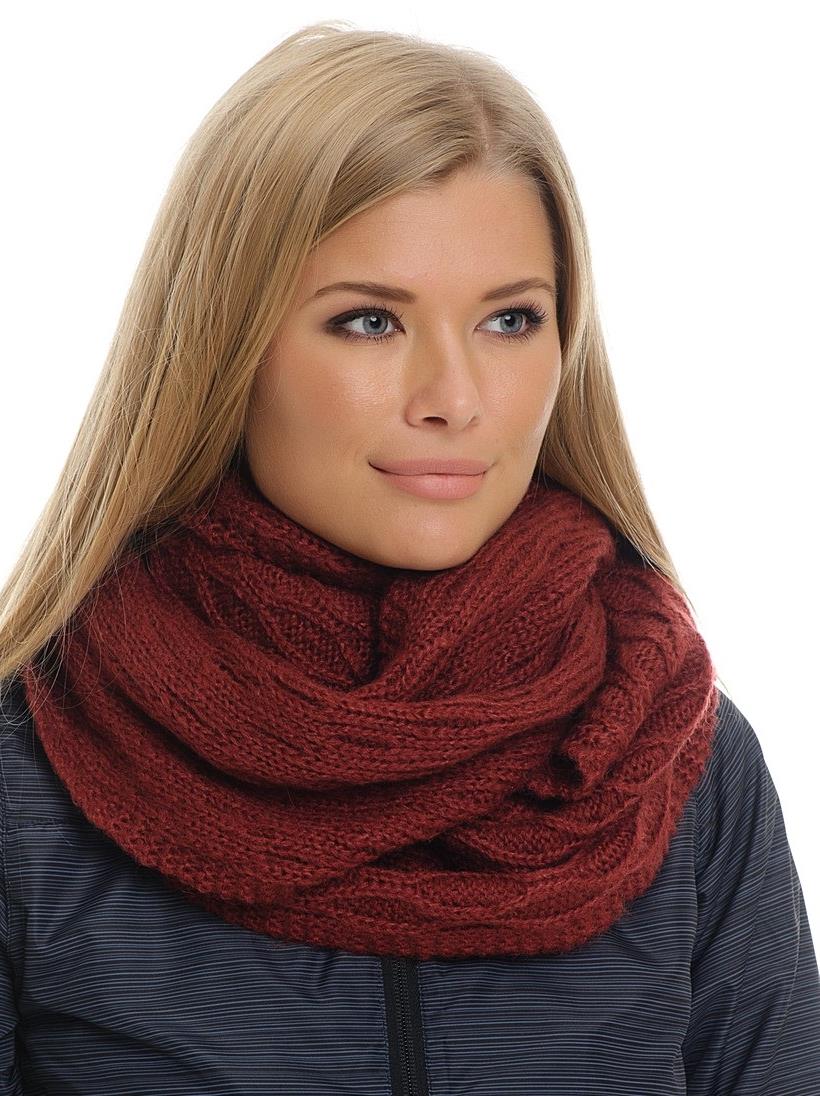
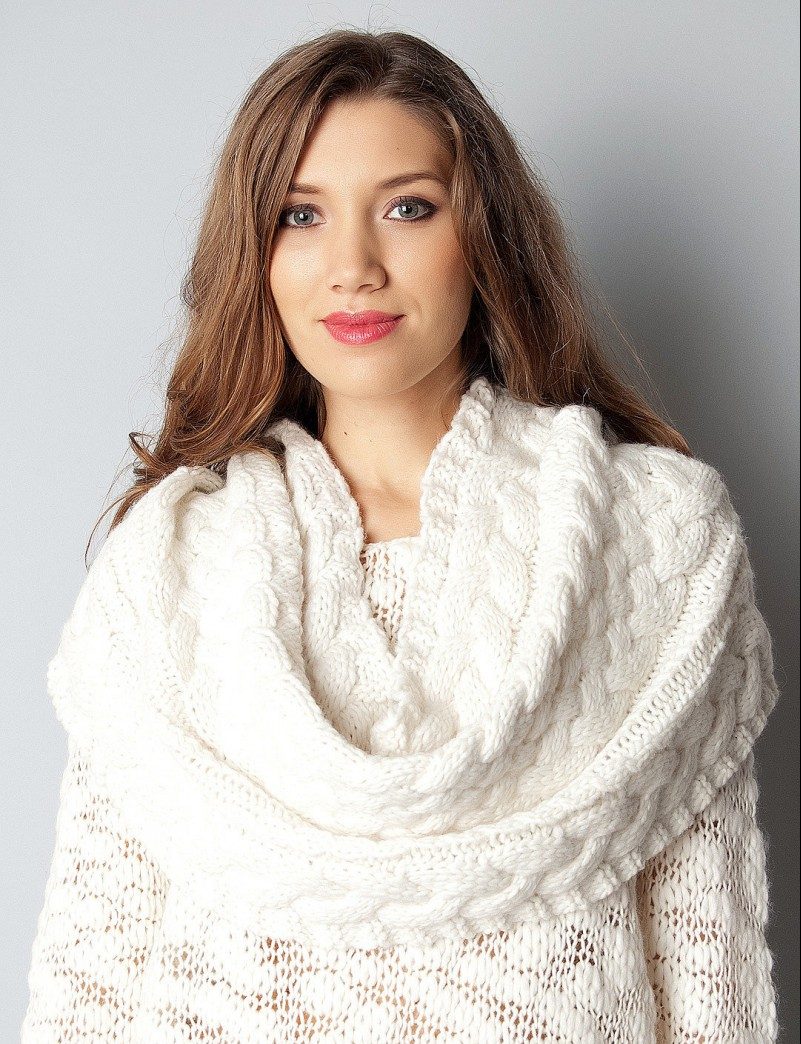
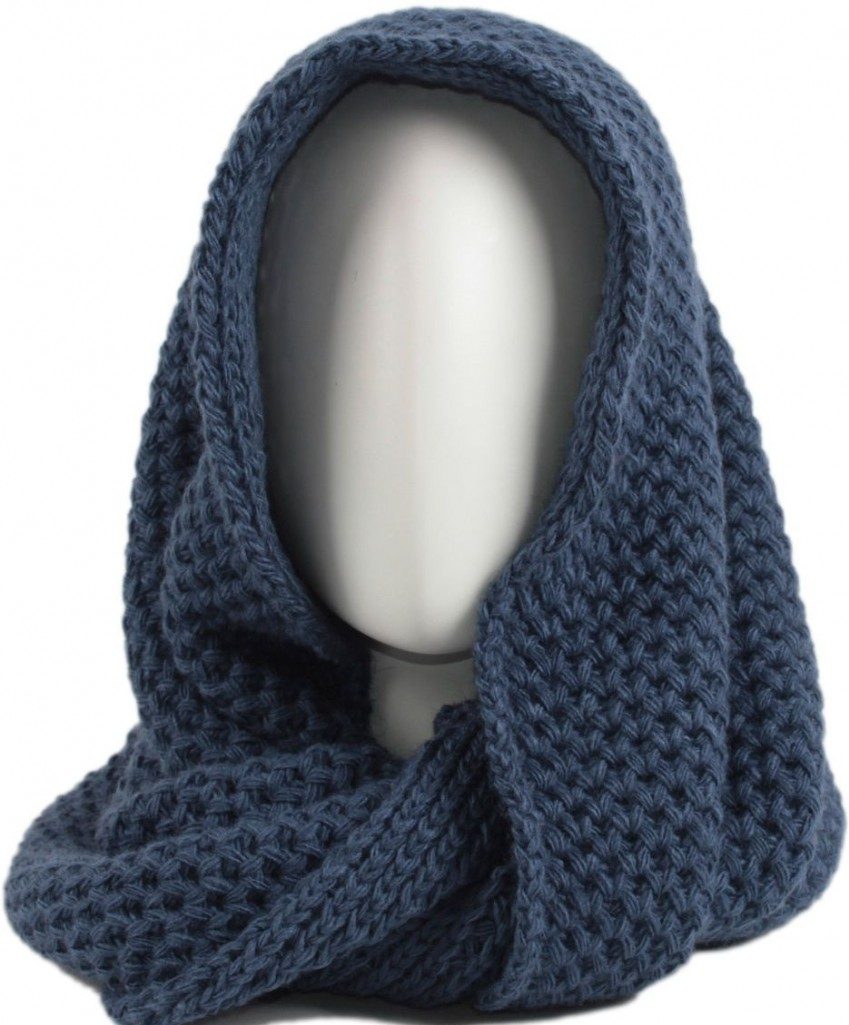
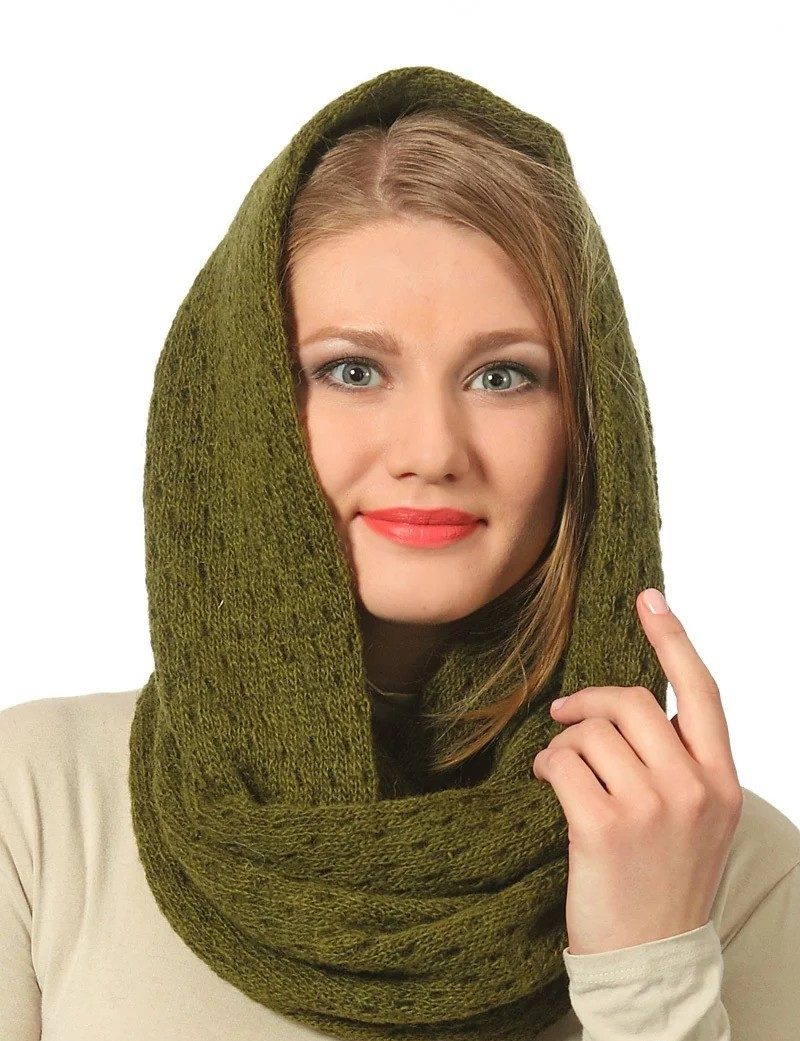
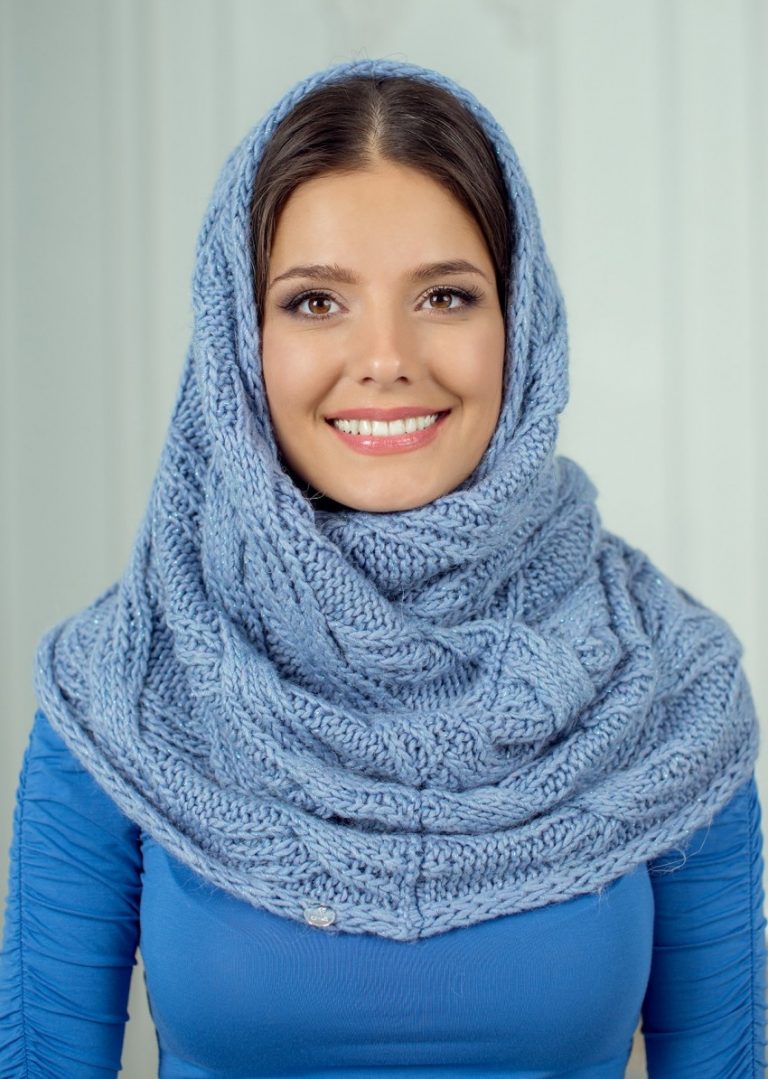
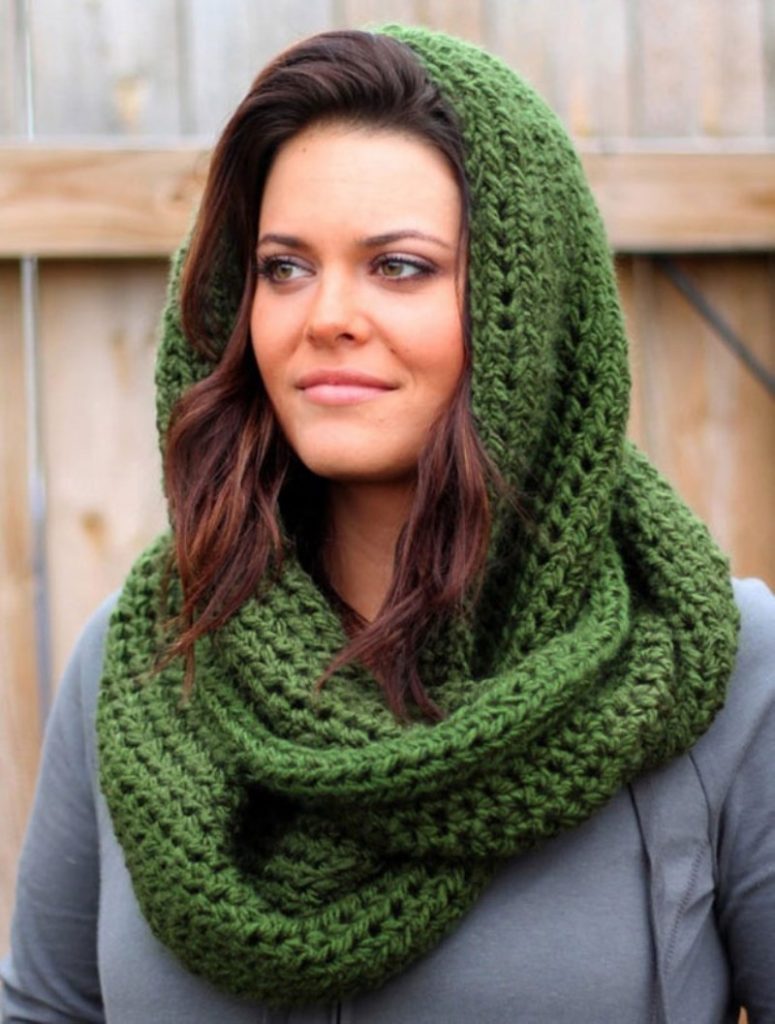
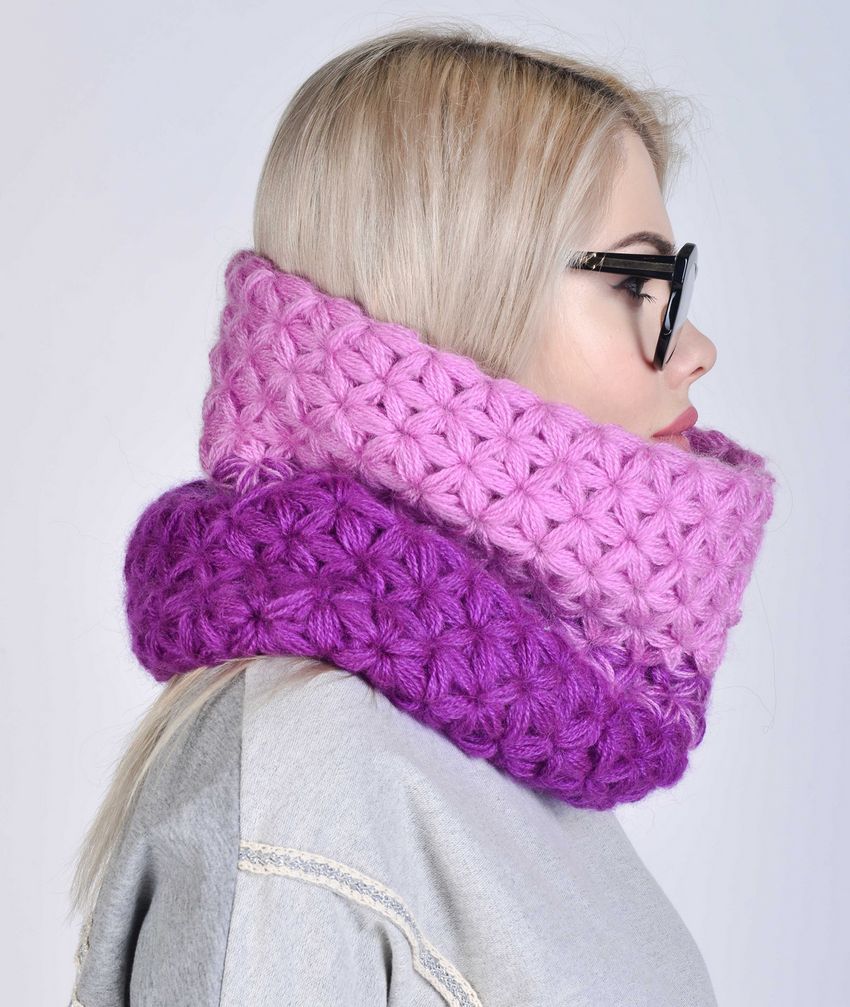
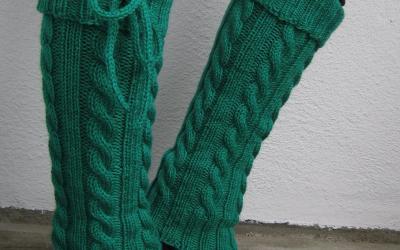
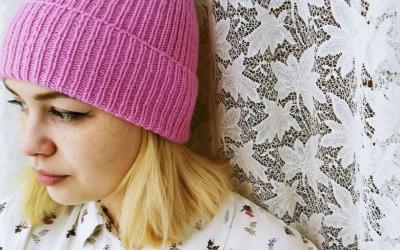
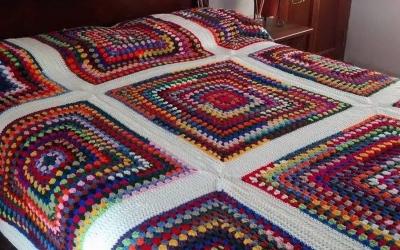
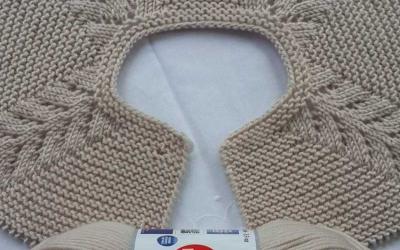
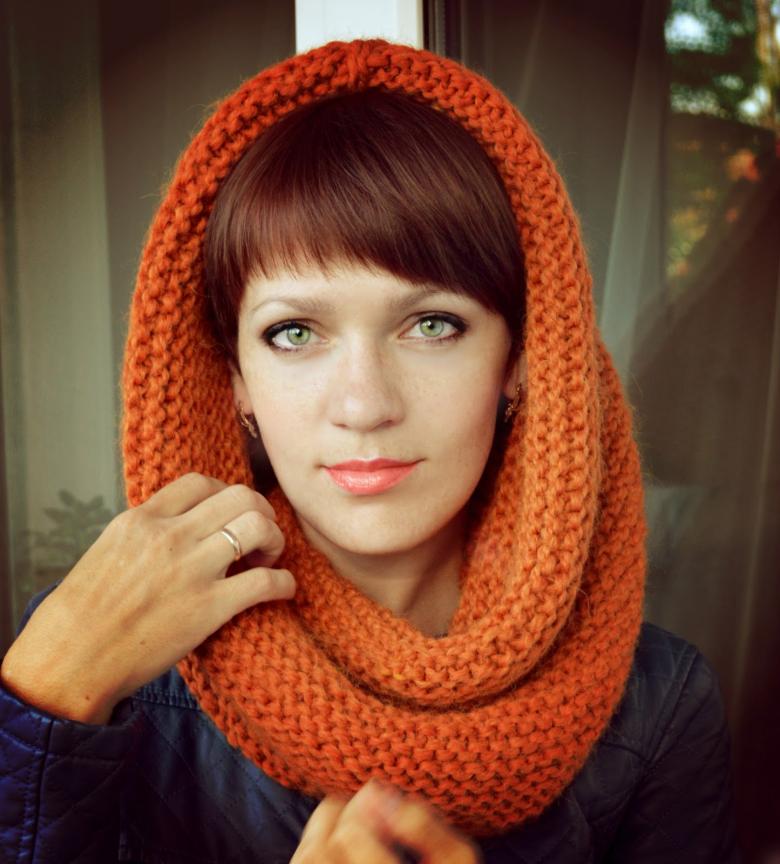
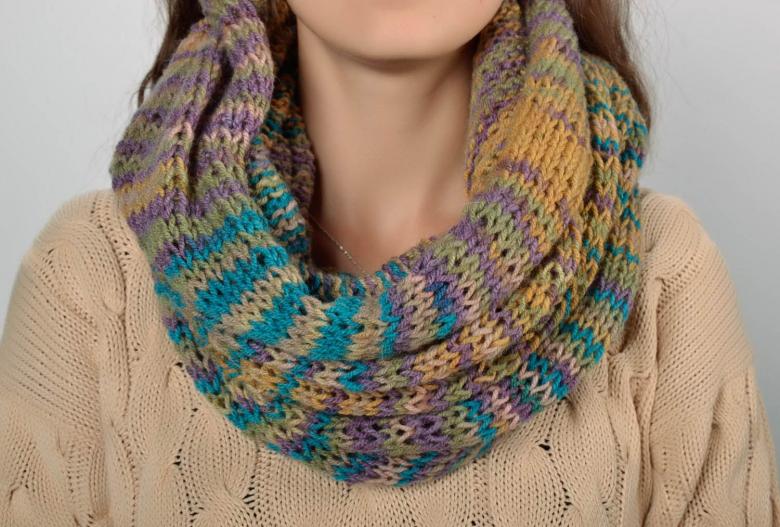
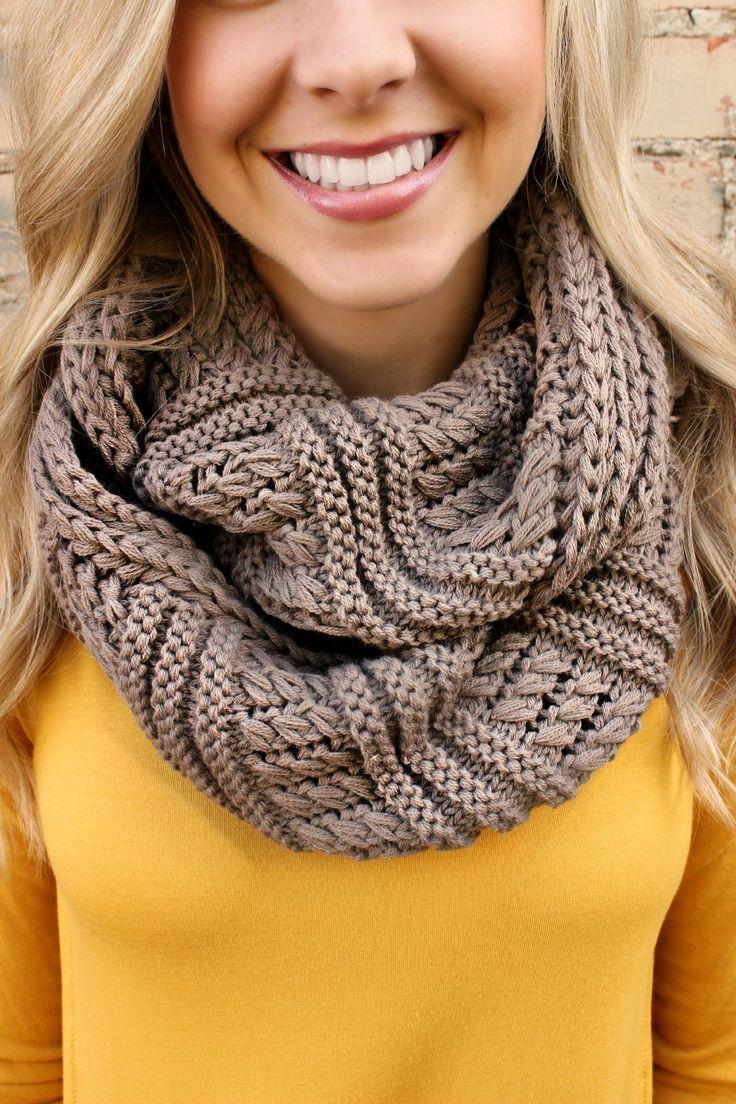
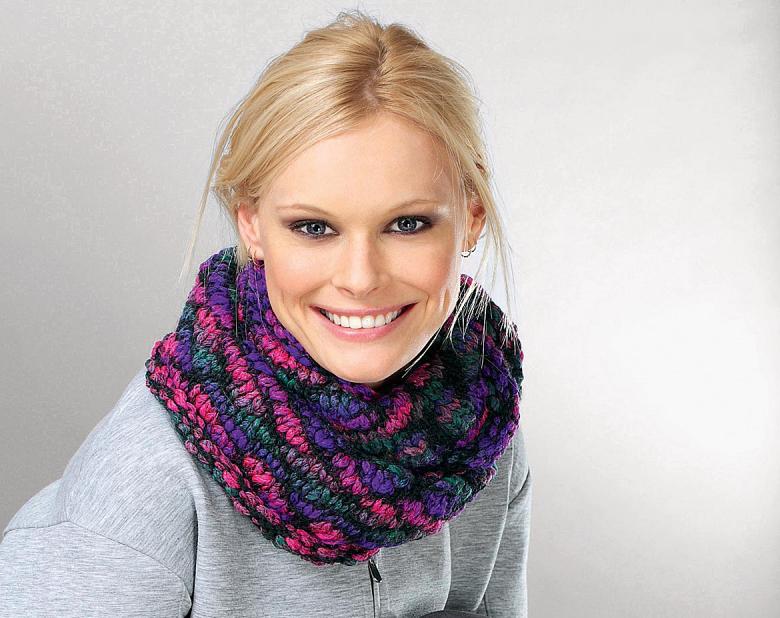
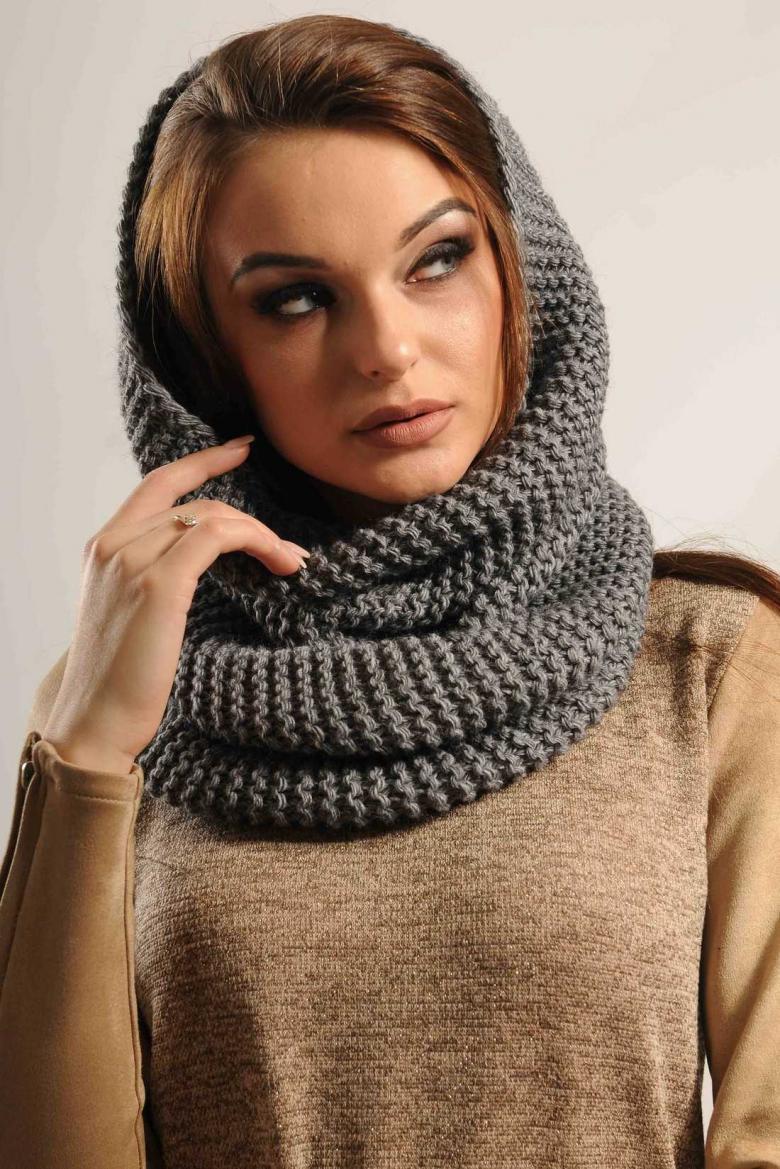
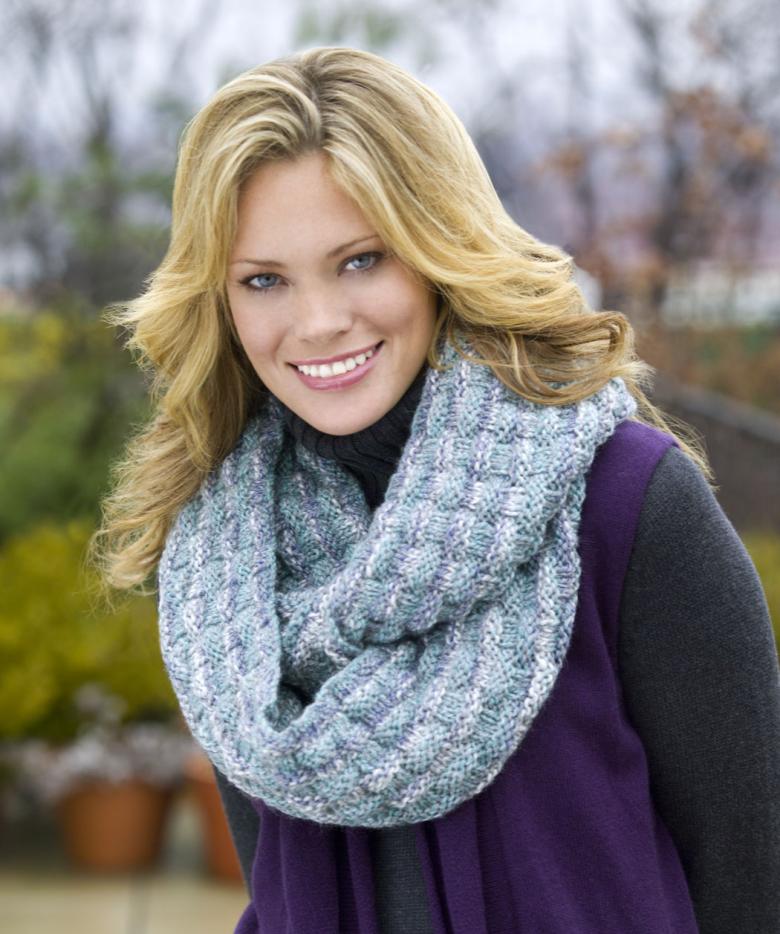
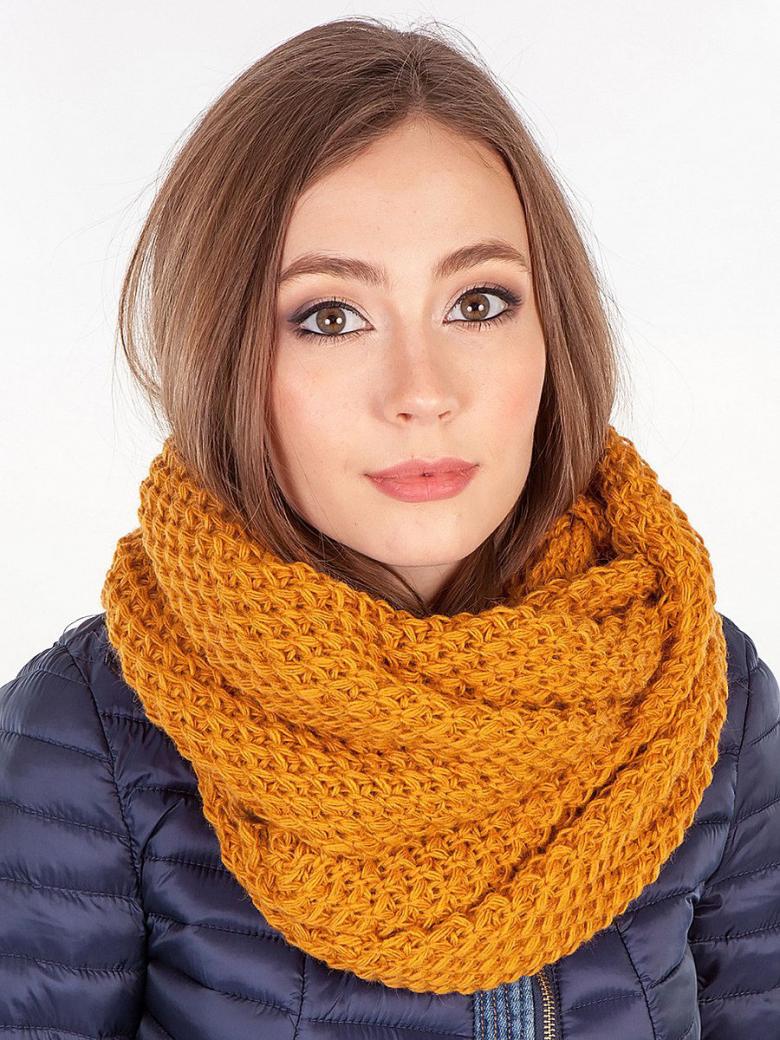
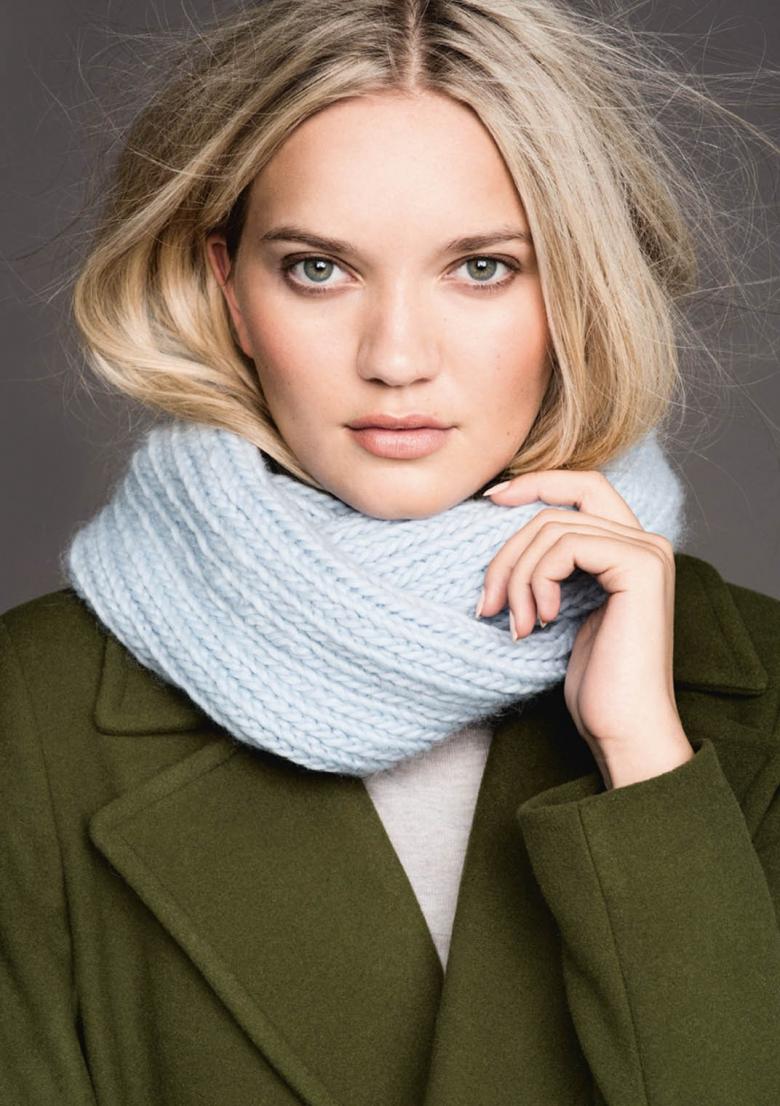
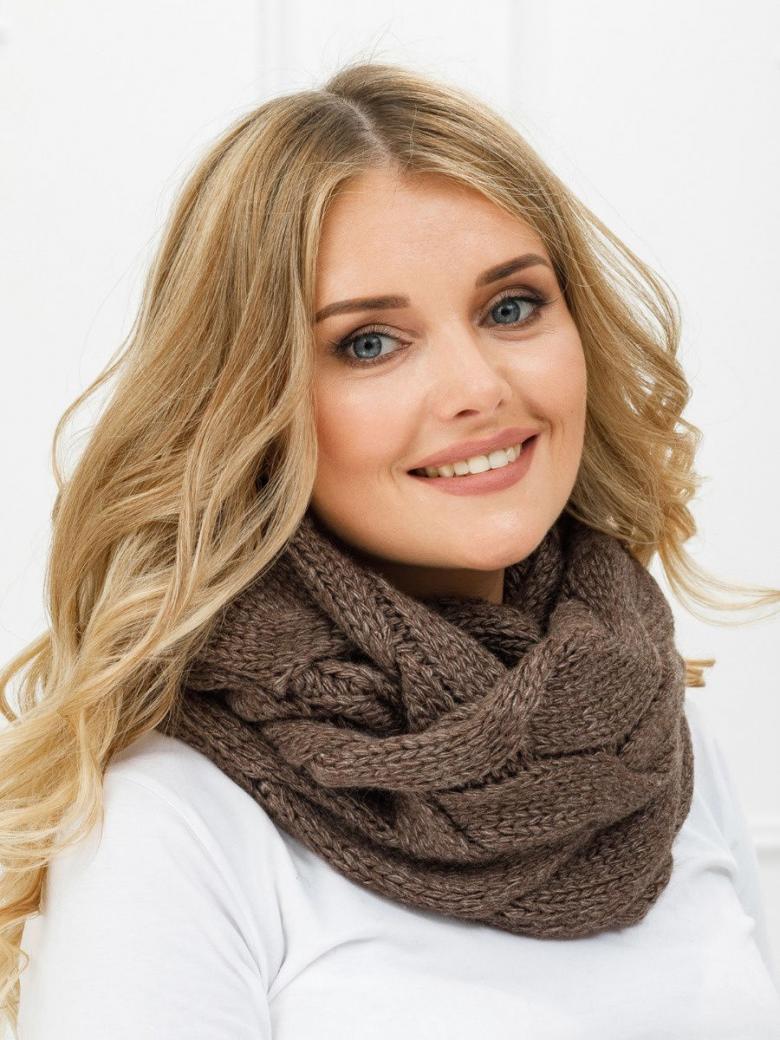
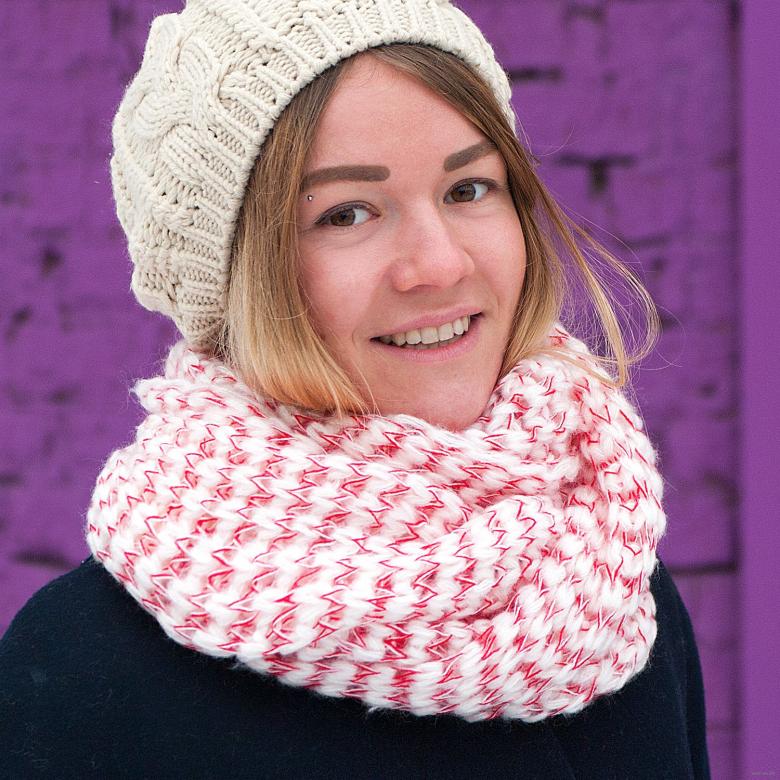
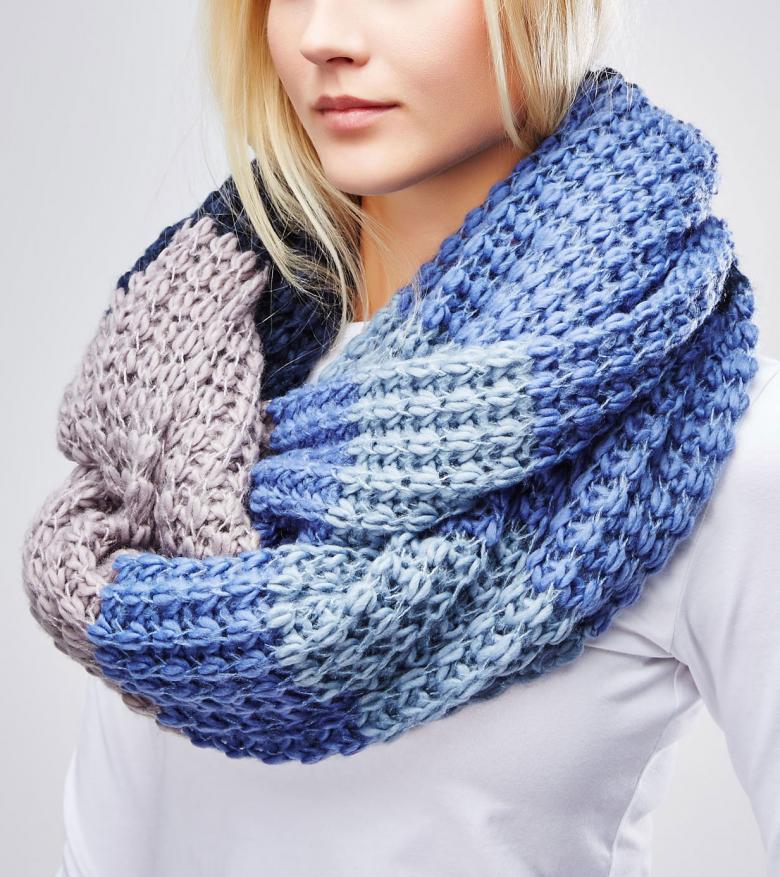
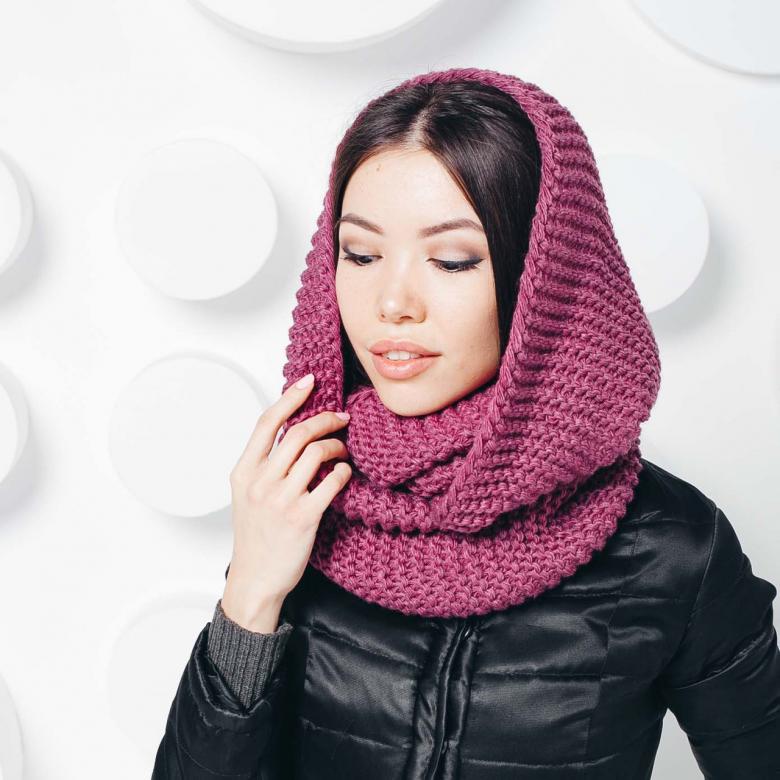
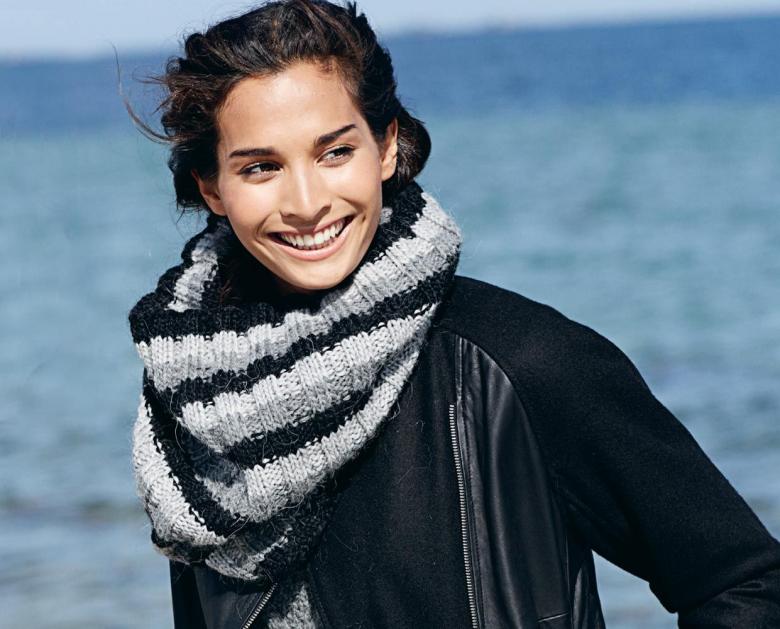
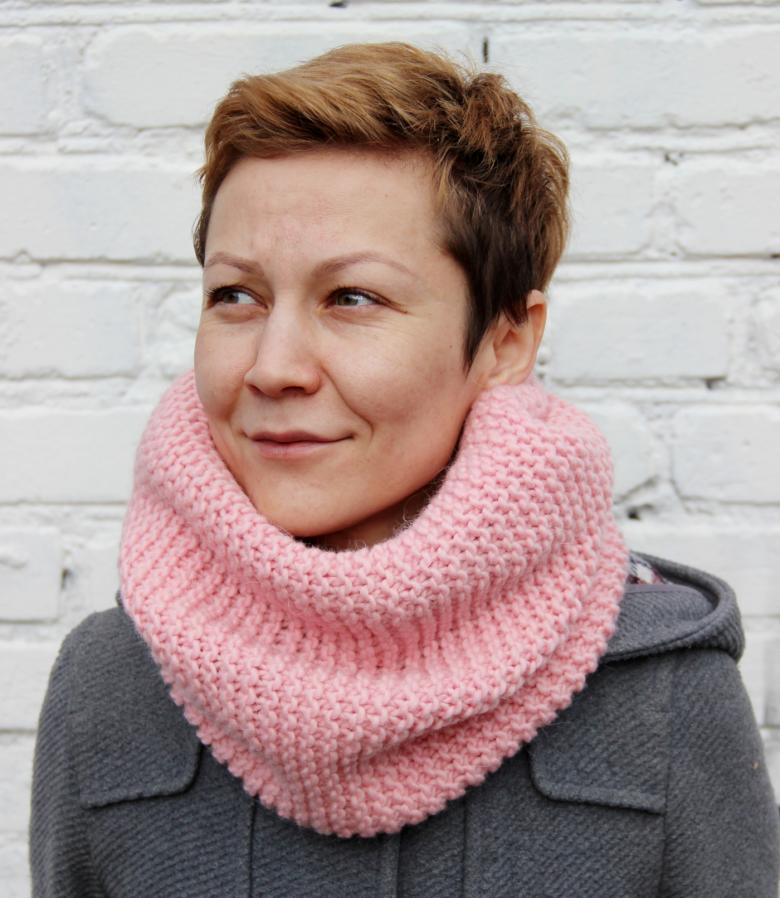
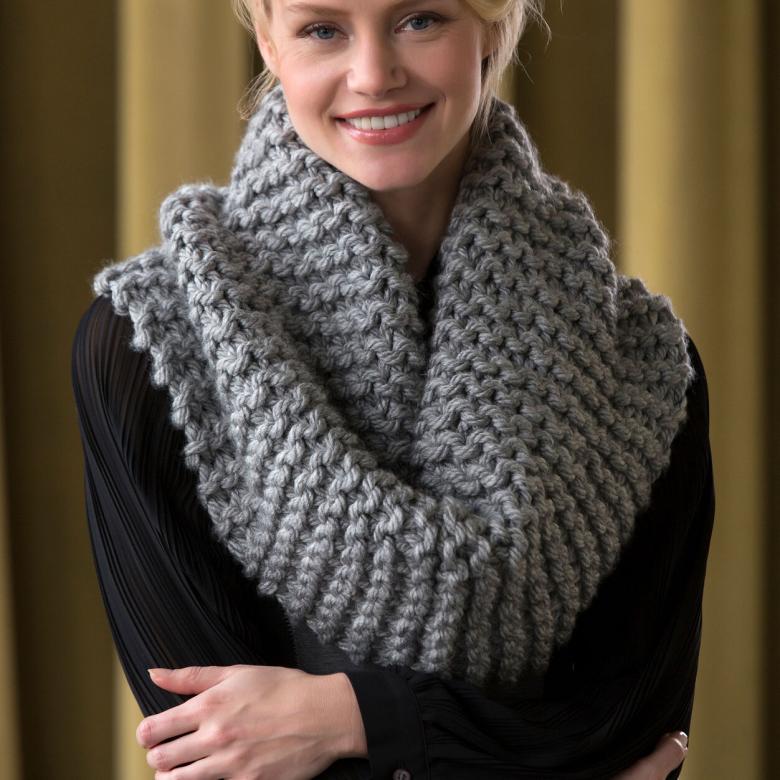
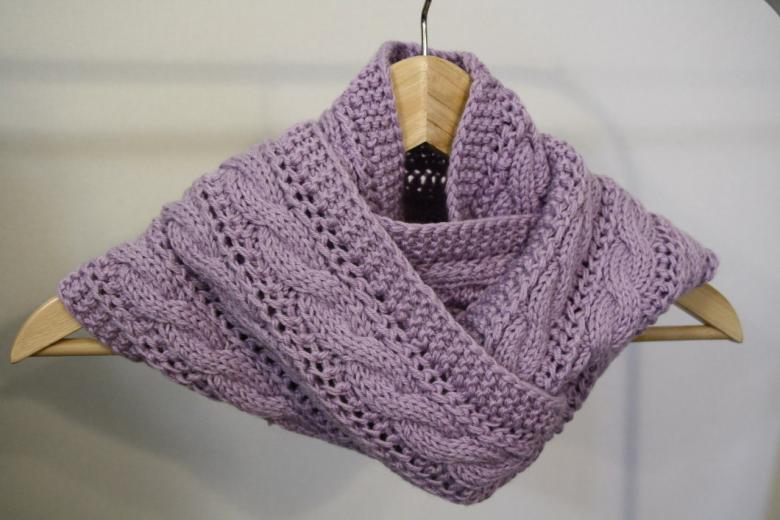
Photo ideas for beautiful knitted snoods